


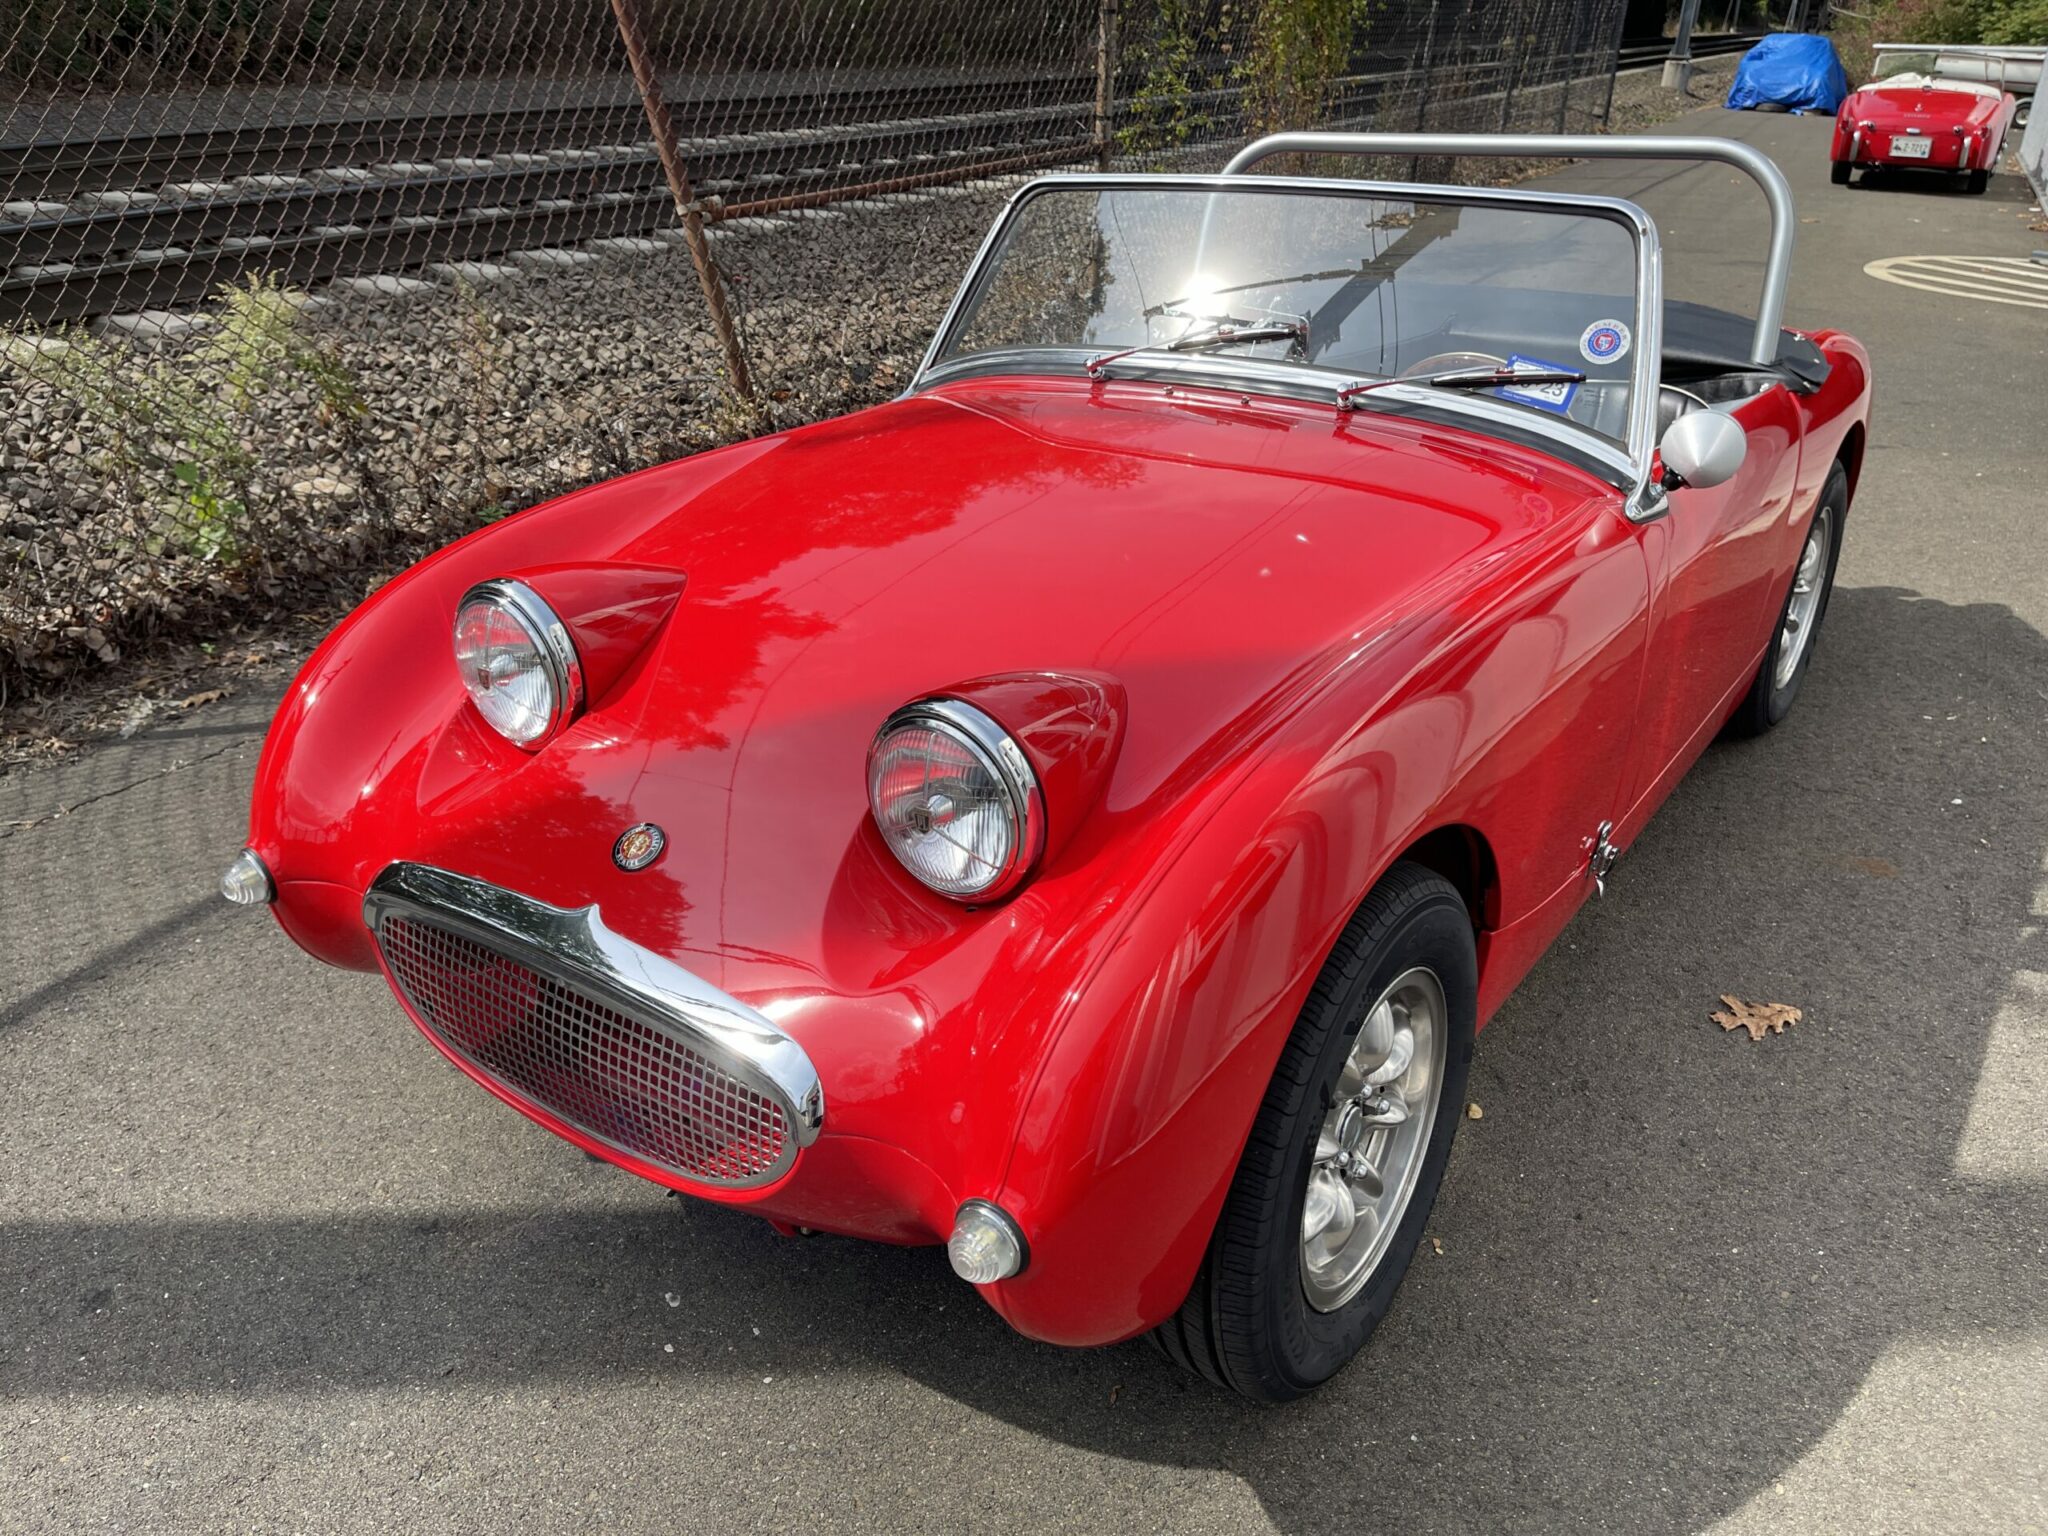
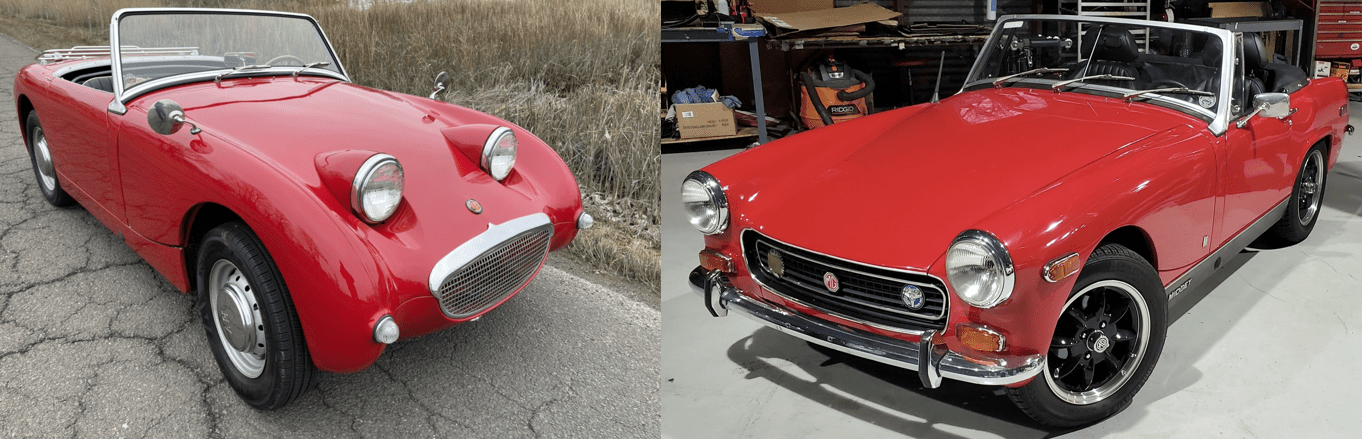
We’re proud of the car you see above. It was a fine Bugeye when it showed up after we retrieved it in Texas for the client, but now, after 100 or so improvements, this car is really great.
[Read more…] about Another Bugeye Sprite transformedWe’re proud of the car you see above. It was a fine Bugeye when it showed up after we retrieved it in Texas for the client, but now, after 100 or so improvements, this car is really great.
[Read more…] about Another Bugeye Sprite transformedA Bugeye’s coolant bypass hose can tear faster than Aaron Rodgers’ achilles. But there’s hope, and a new one is only $8.95 (including new hose clamps).
You need to check yours today.
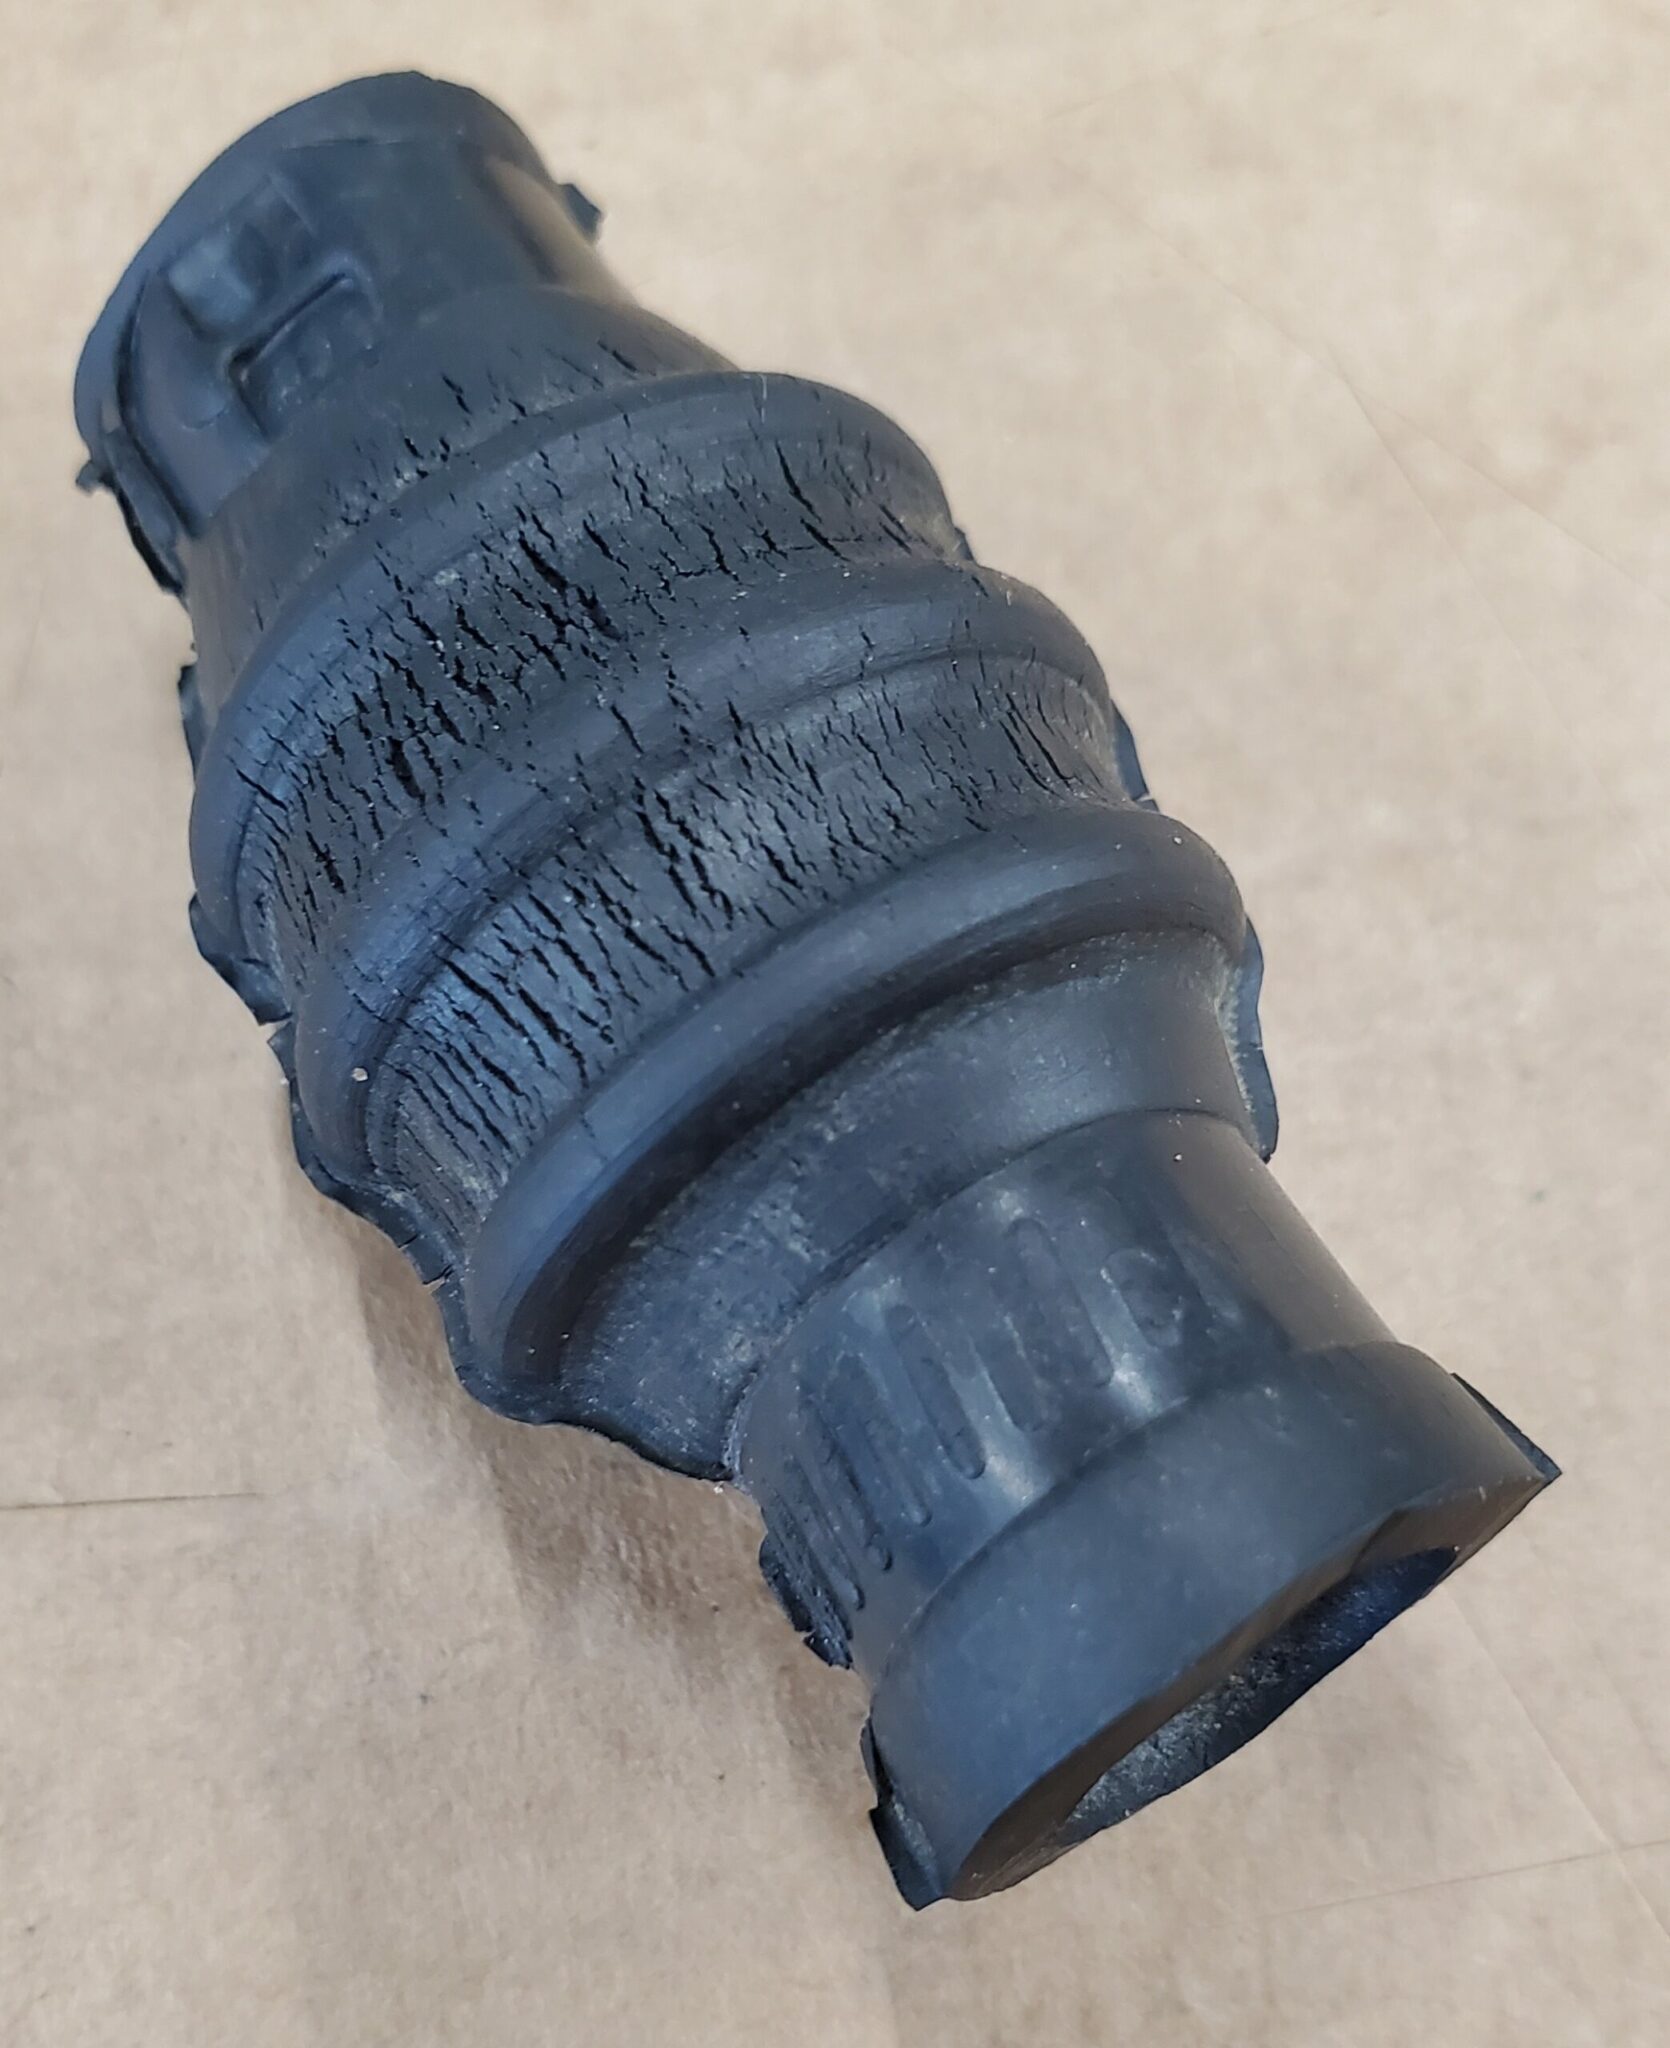
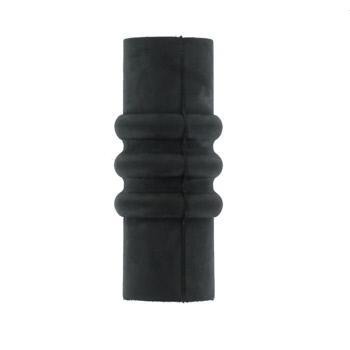
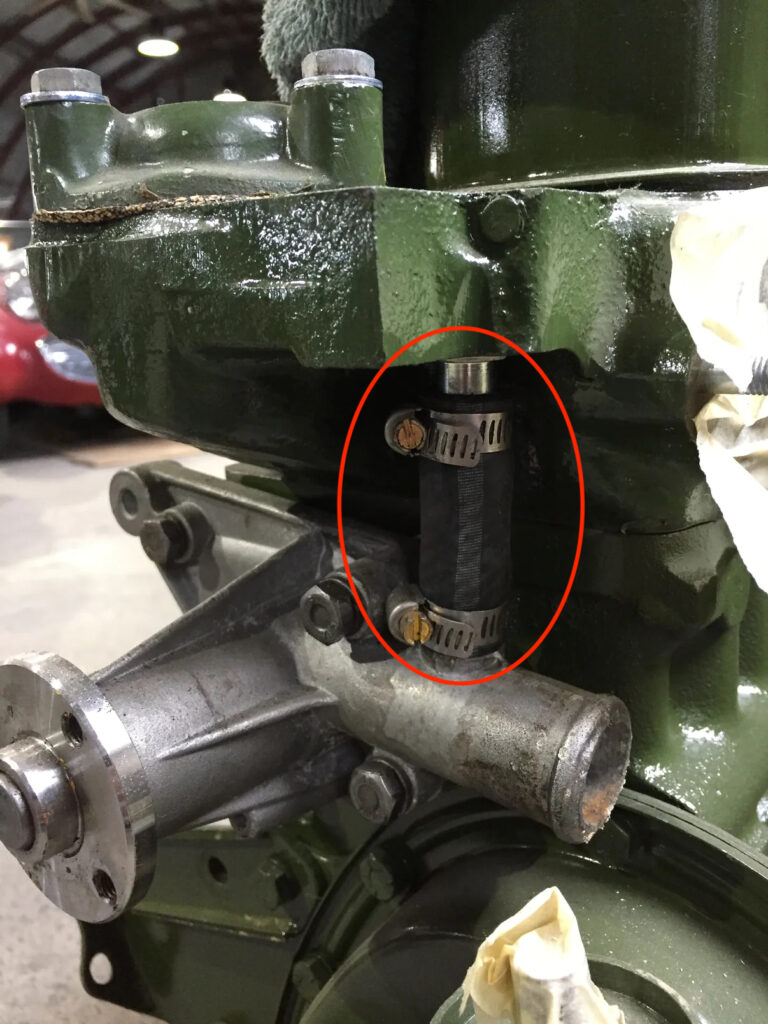
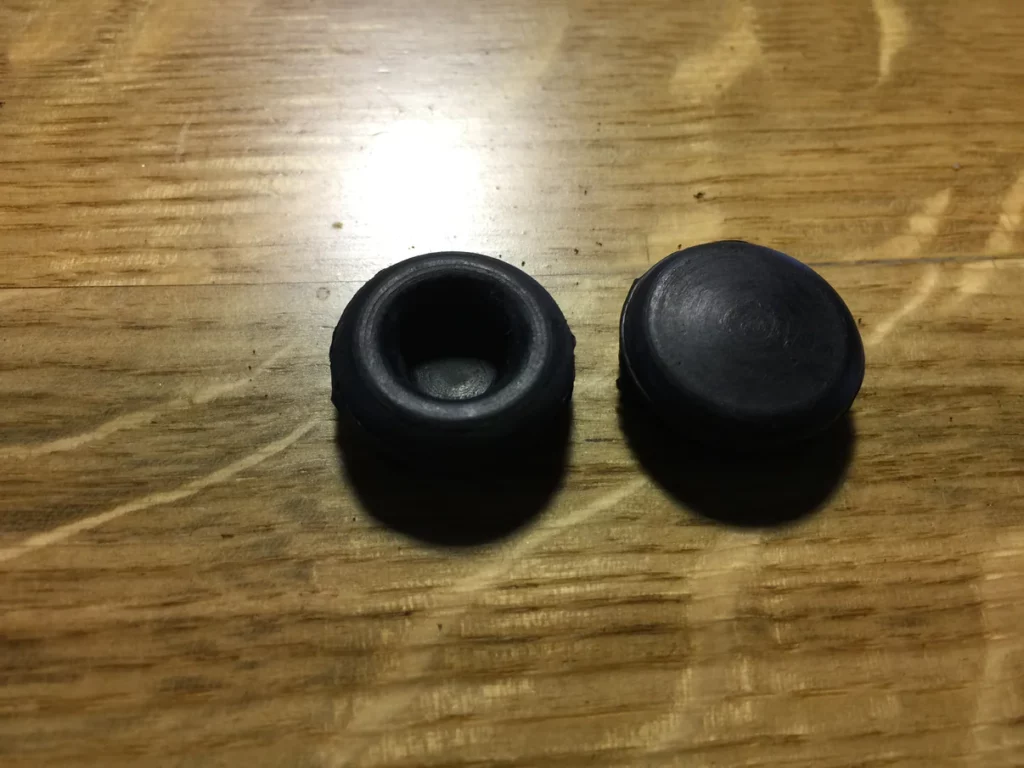
If you are unfamiliar, this little hose lives under the thermostat housing, connecting the water pump to the cylinder head, and is often neglected. The hose shown is seriously inflamed and the worst one we have ever seen. We added a photo of a new accordion style hose next to it so you can see the amount of deformation.
The accordion style shown can crack, and apparently, based on this picture, get really swollen too!
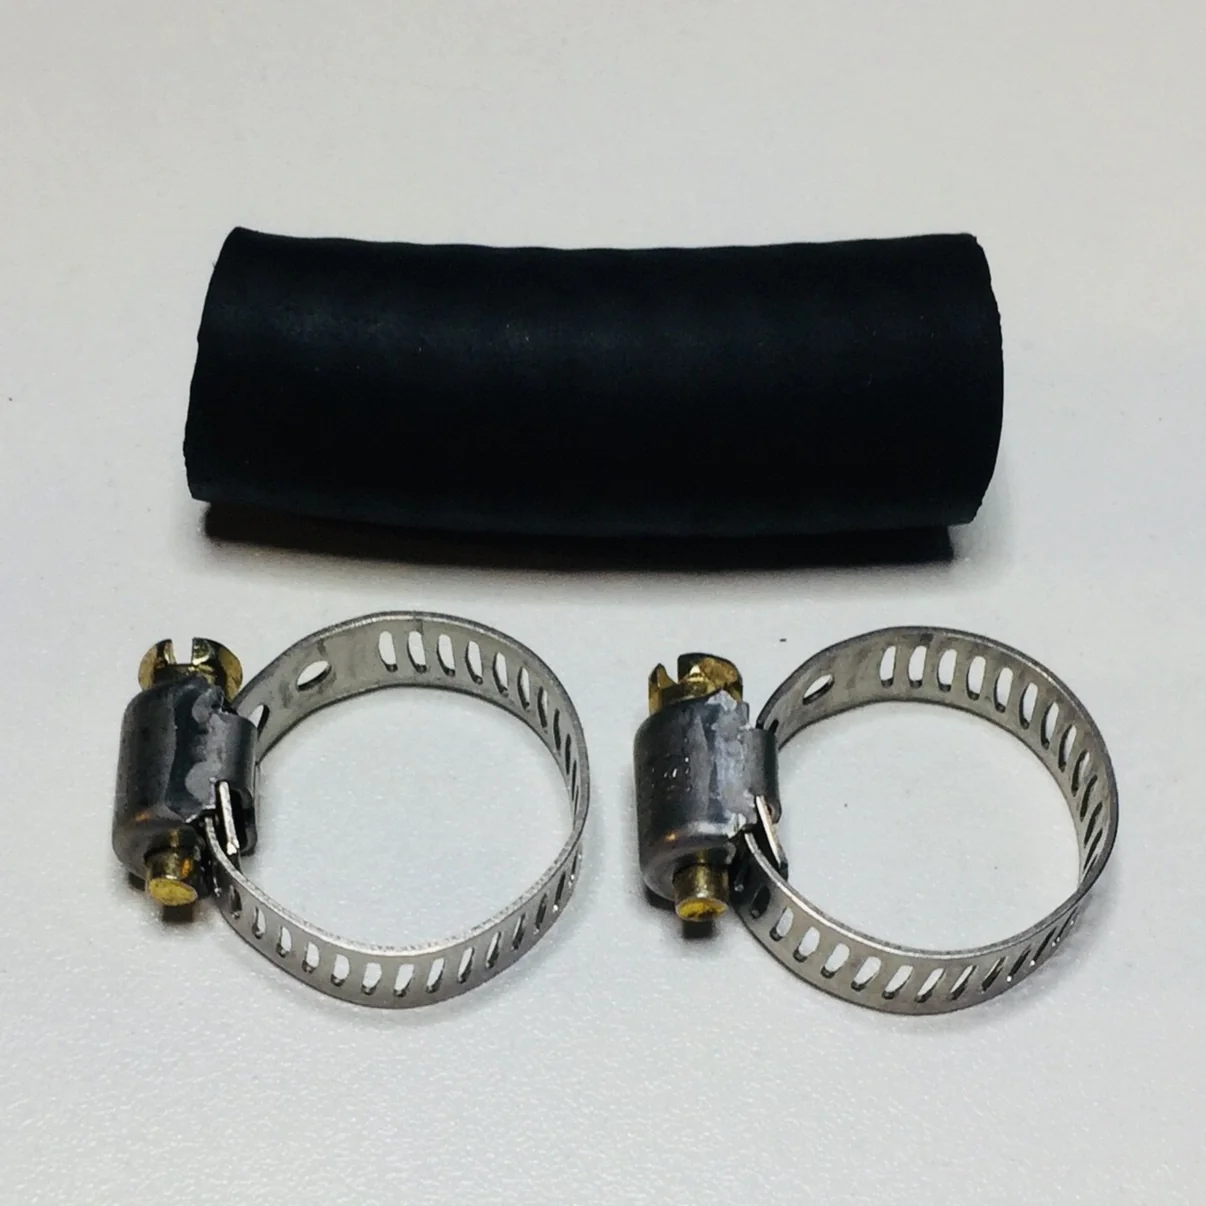
We sell a straight hose for more longevity. It’s a little harder to install with the water pump in place, or remove your water pump to install. This will keep your juices flowing for a long time to come!
Our catalog continues to grow! We are excited to help many new late/square Sprite and Midget owners with awesome technical support and parts in the first half of 2023 and beyond! Here are some of our favorite new parts this year!
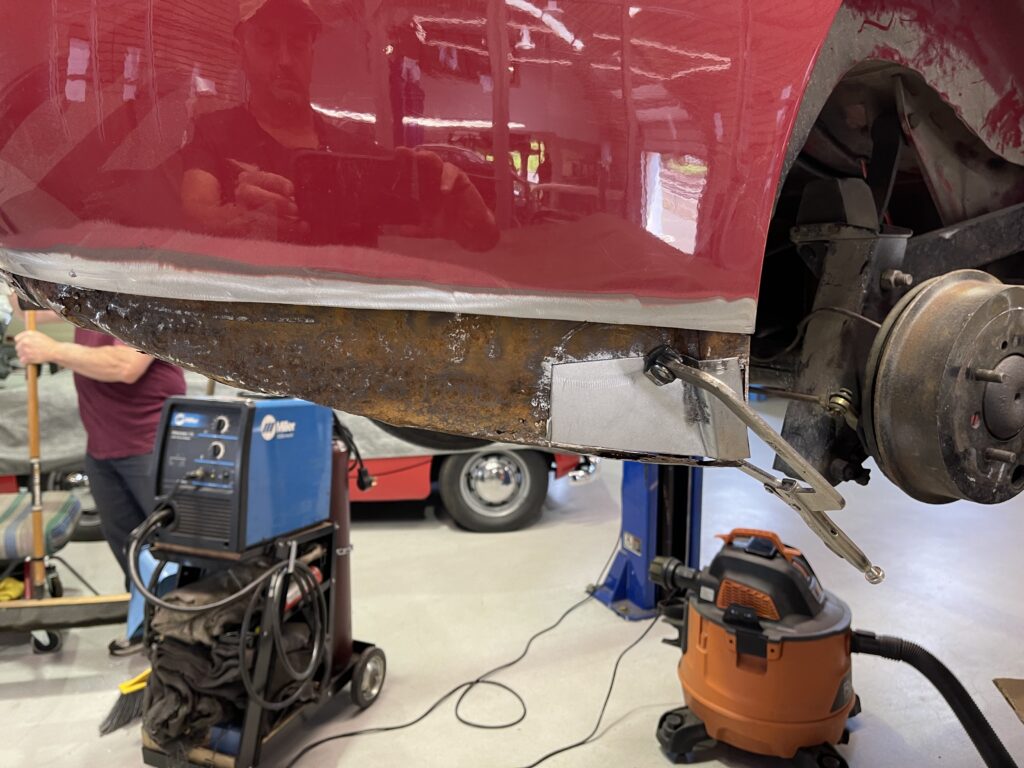
[Read more…] about Not just Bugeyes! Parts for all your Sprite/Midget needs!The lower rear quarter is a common rust area on Frogeyes. Over the years, we’ve seen our share of blistered panels in this portion of the car. In some instances, the damage is extreme, but it’s not always as difficult as you might think to repair this area. We sell a patch panel for this purpose, which you can see by clicking here. With the car shown, only a portion of that panel was needed, so we just use what is needed from the patch panel, and it is different with each job.
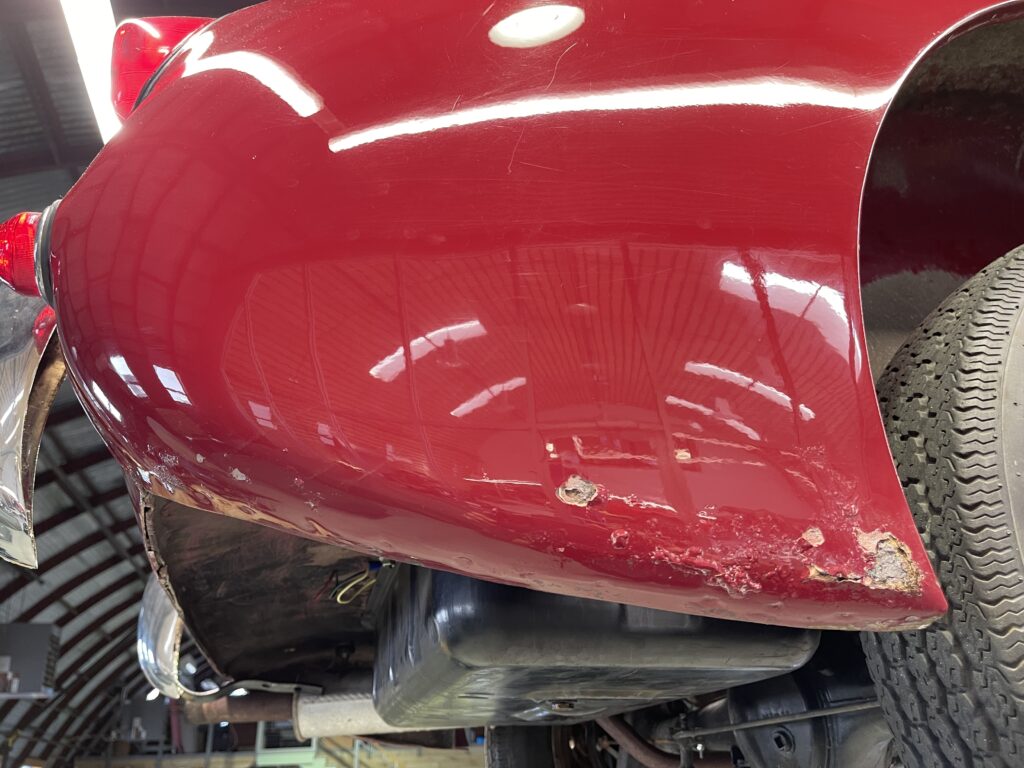
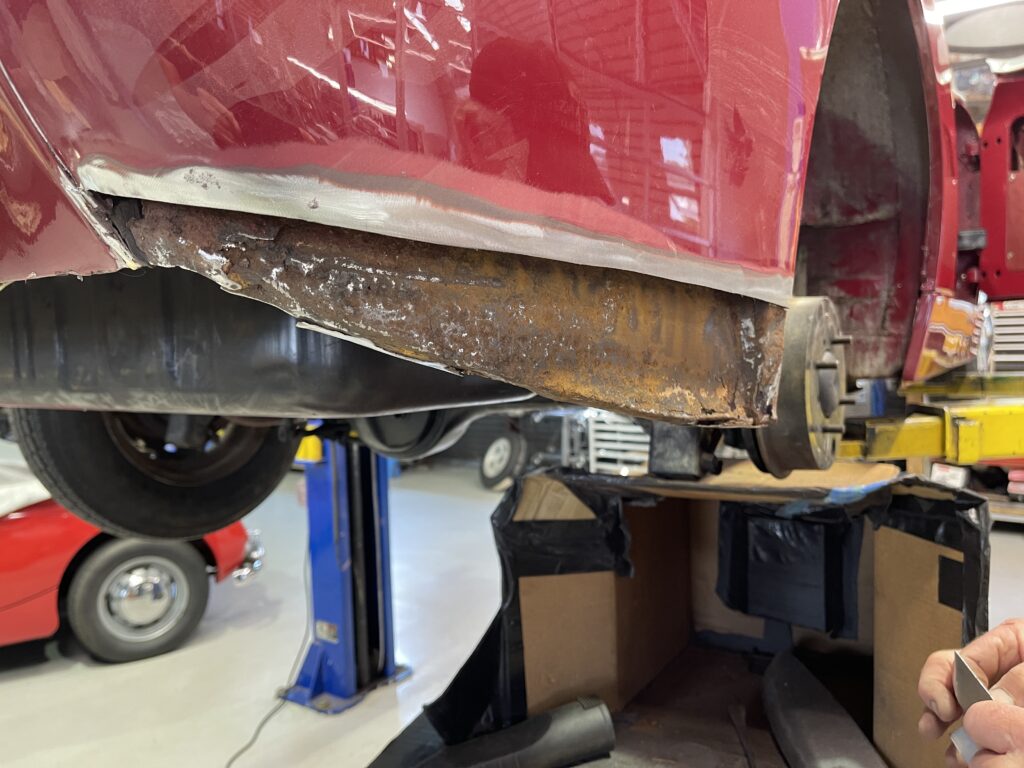
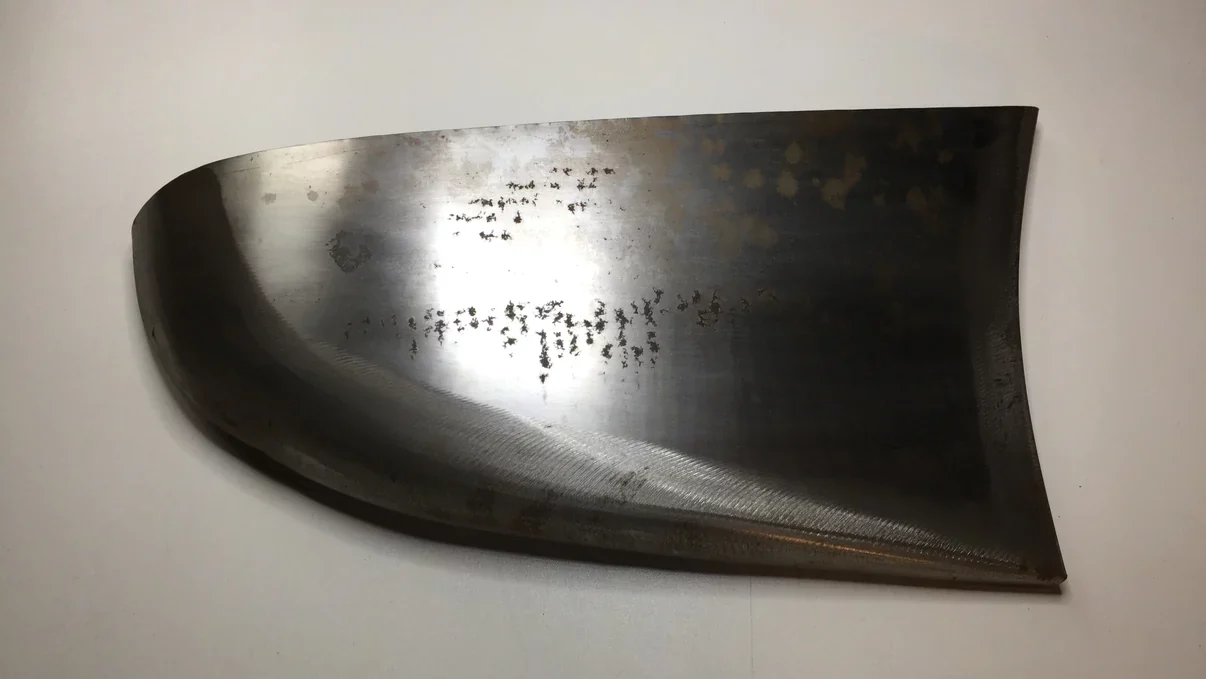
If you follow the sequence of the photos, you can see the blistered area prior to the repair and then the rusted material that we cut away.
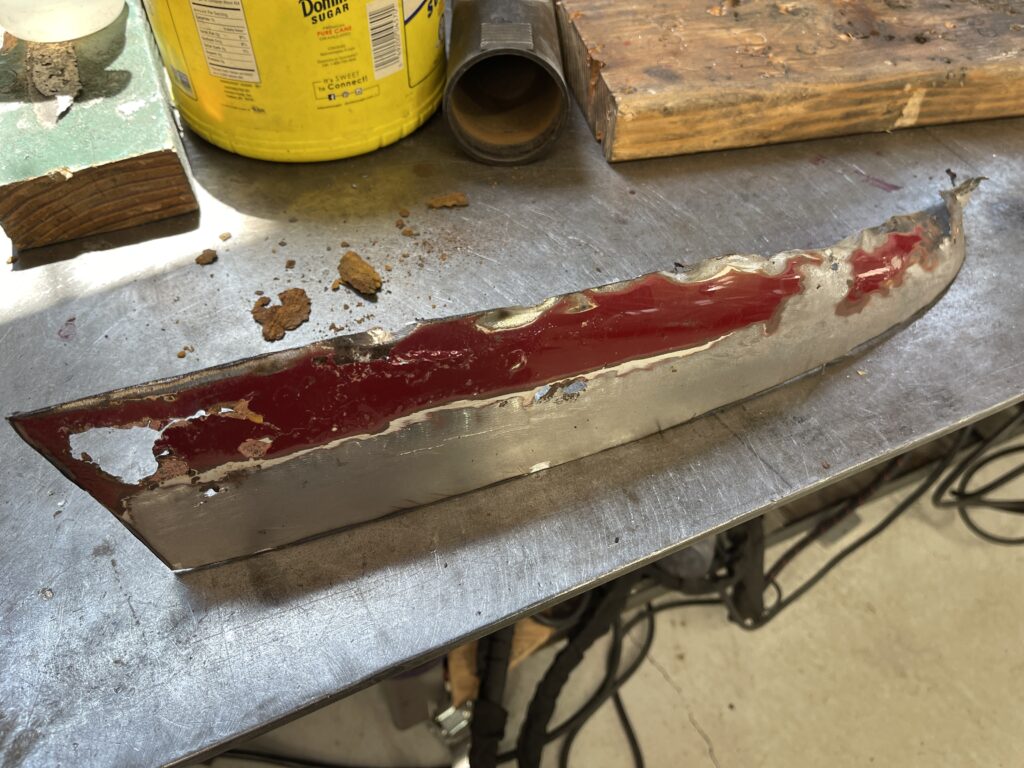
Here’s a photo of the rusted piece on the bench, which we use to match the paint color, once the repair is complete.
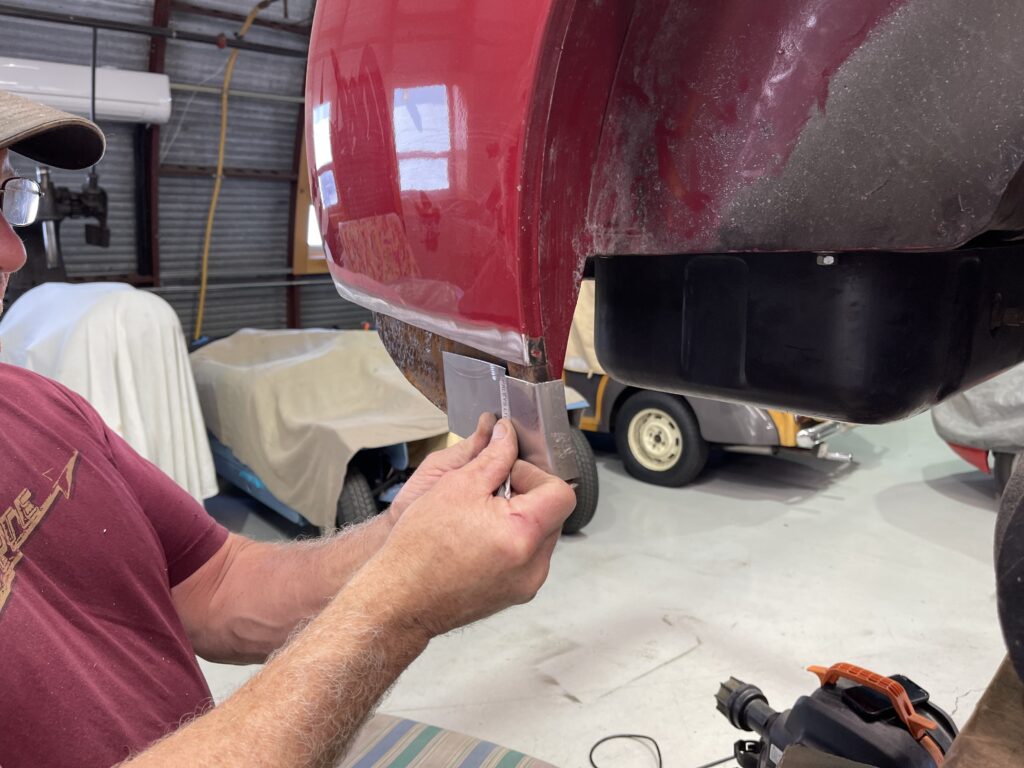
Here you can see the patch we fabricated for the inner skin of this area, hand-formed by our lead fabricator Kenny.
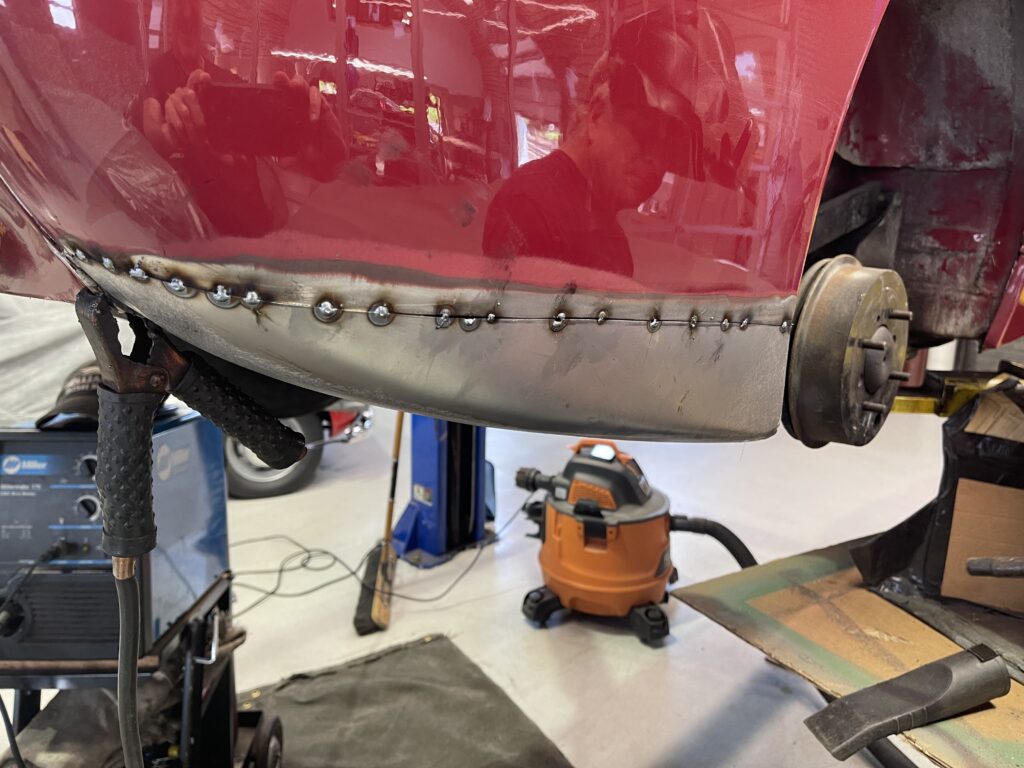
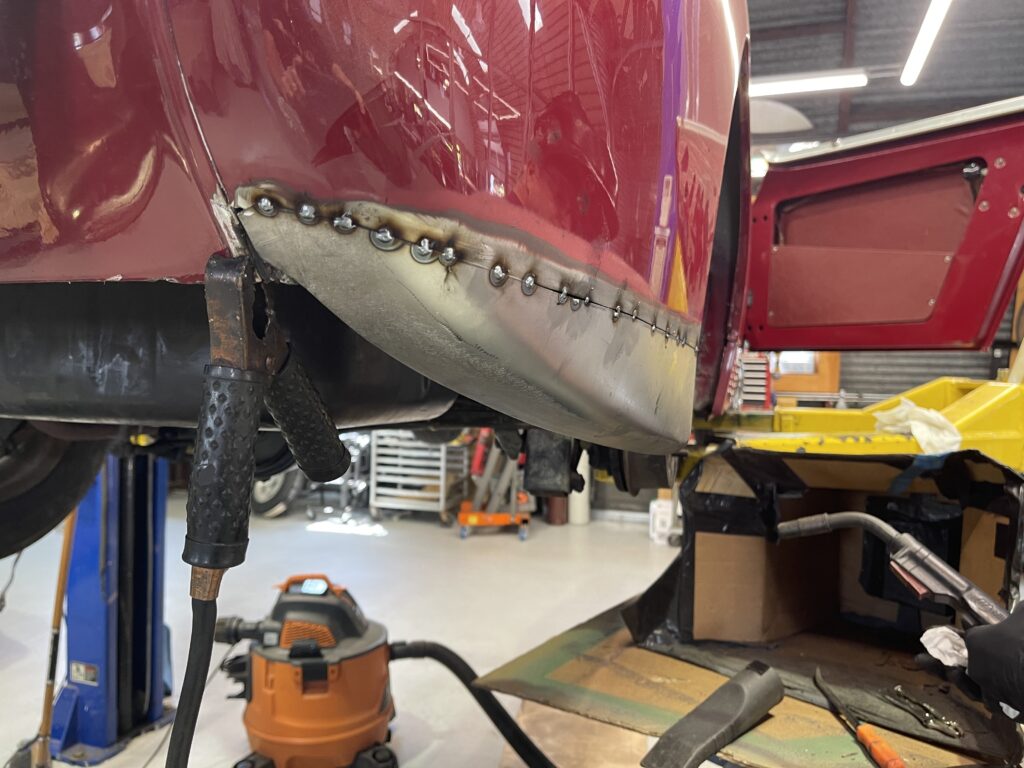
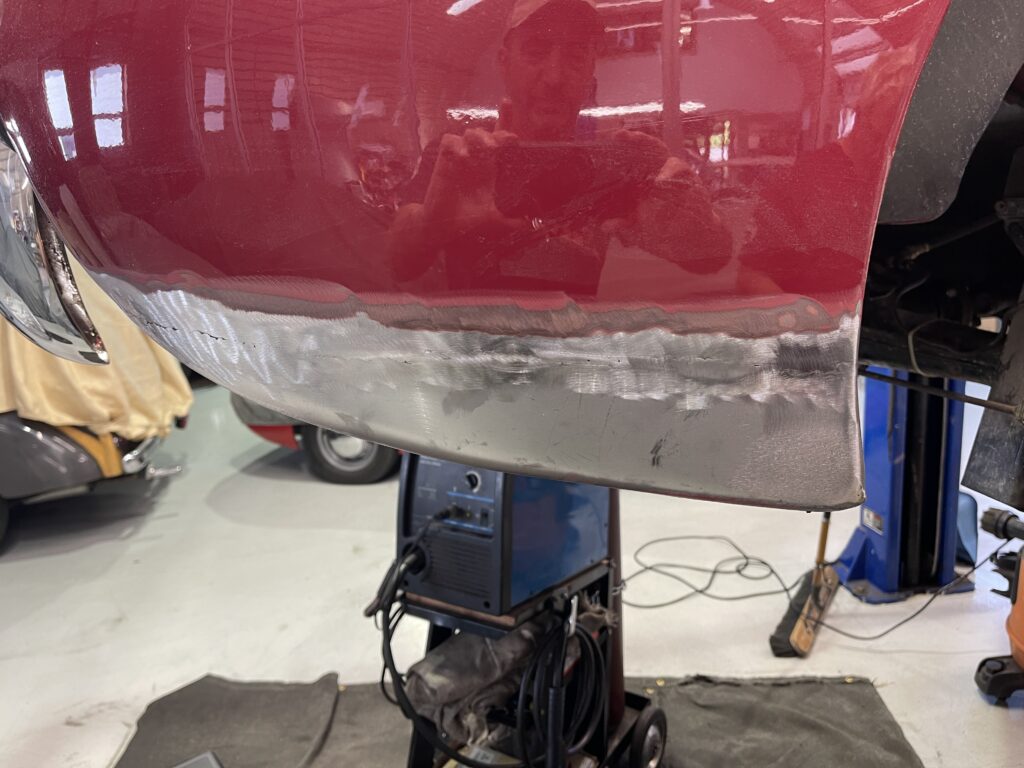
Then, after welding in the inner patch, the outer patch panel is tack welded in, and then a complete bead of welding all the way across the seam is laid down, which is then ground down flat.
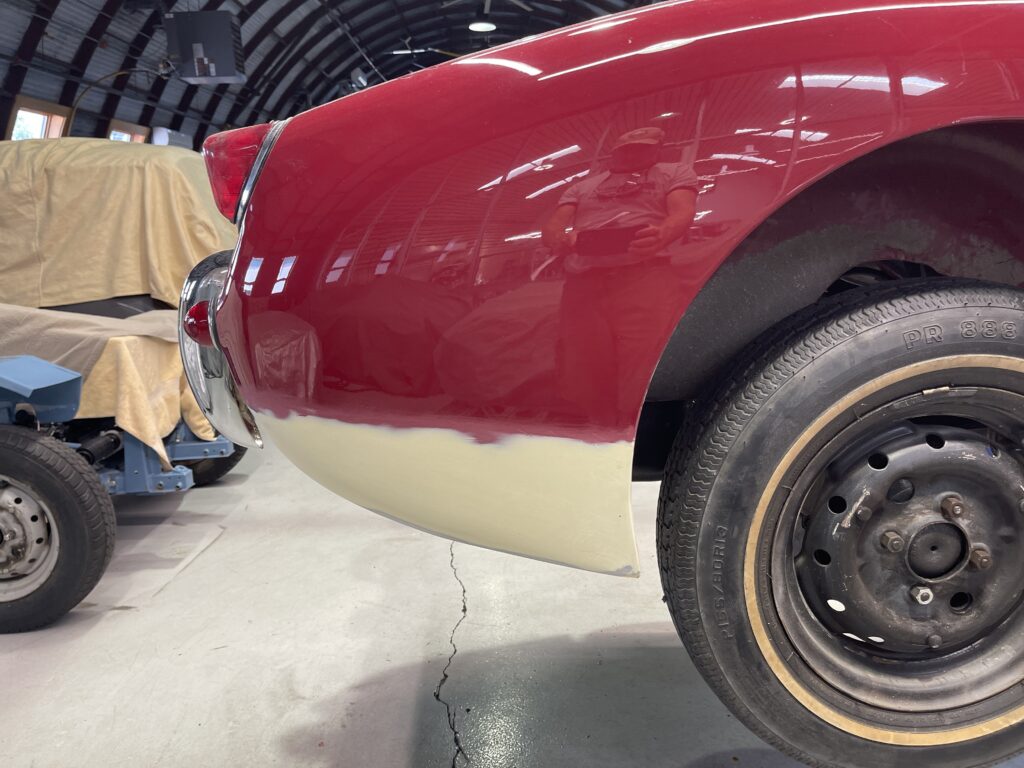
Finally, a very thin coat of body filler is applied so that we can sand the repaired area into a perfect compound curve.
Next week, the primer goes on and then the final red spray is blended into the existing quarter panel.
The design of this rear section is not ideal; moisture gets trapped at the bottom of the fender in this area and leads to the blisters and rust that you see in this post, but now that it’s been removed and repaired and resealed inside, this Sprite should enjoy another 50 years without perforation!
Not every Bugeye needs to be perfect! This is a well-used Sprite and under the same ownership for many years. Multiple mechanical upgrades were needed, but in this video, I’ll show you how we’re transforming the interior to make the car more comfortable to use (and to make it smell better)!
If you’d like to order any of the parts we used to transform this Bugeye, click on the photos below or check out our entire parts catalog here!
I bet your king pins are wiped-out. The Sprite Haynes manual encourages you to squirt-in some grease every 3000 miles, but the original Sprite “glovebox” handbook suggests a 1000 mile interval, and I encourage you to follow that guildline. From what we see in the field, it seems like few people do.
Check out the swivel axle in the video below… this car came for a disk brake conversion and upon disassembly, we were surprised to see a nearly seized bushing on this swivel axle, which required major effort just to swivel.
On the back of each front swivel axle are two grease zerk fittings. These two zerks are used to provide lubricating grease to the king pin bushings, two brass bushings that are pressed into the steering knuckle on which the king pin rides. After long periods of driving without replenishing the grease, the bushings can begin to seize to the king pins, creating galling and pitting on the king pins and shortening their service life.
[Read more…] about Feeling bushed