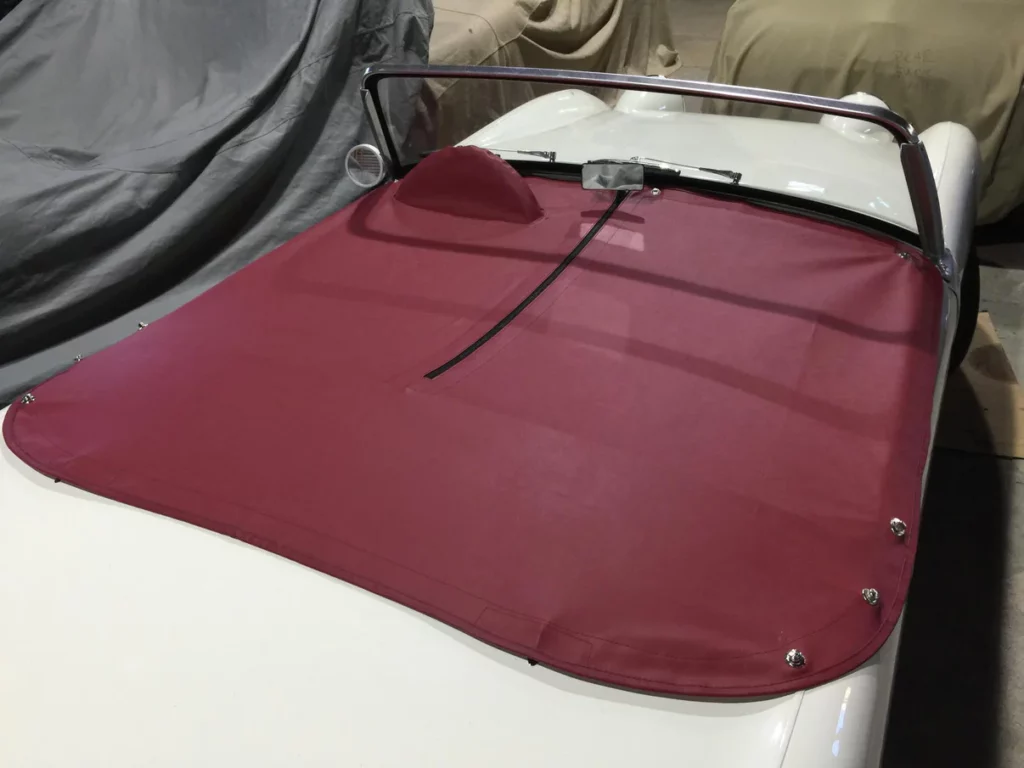
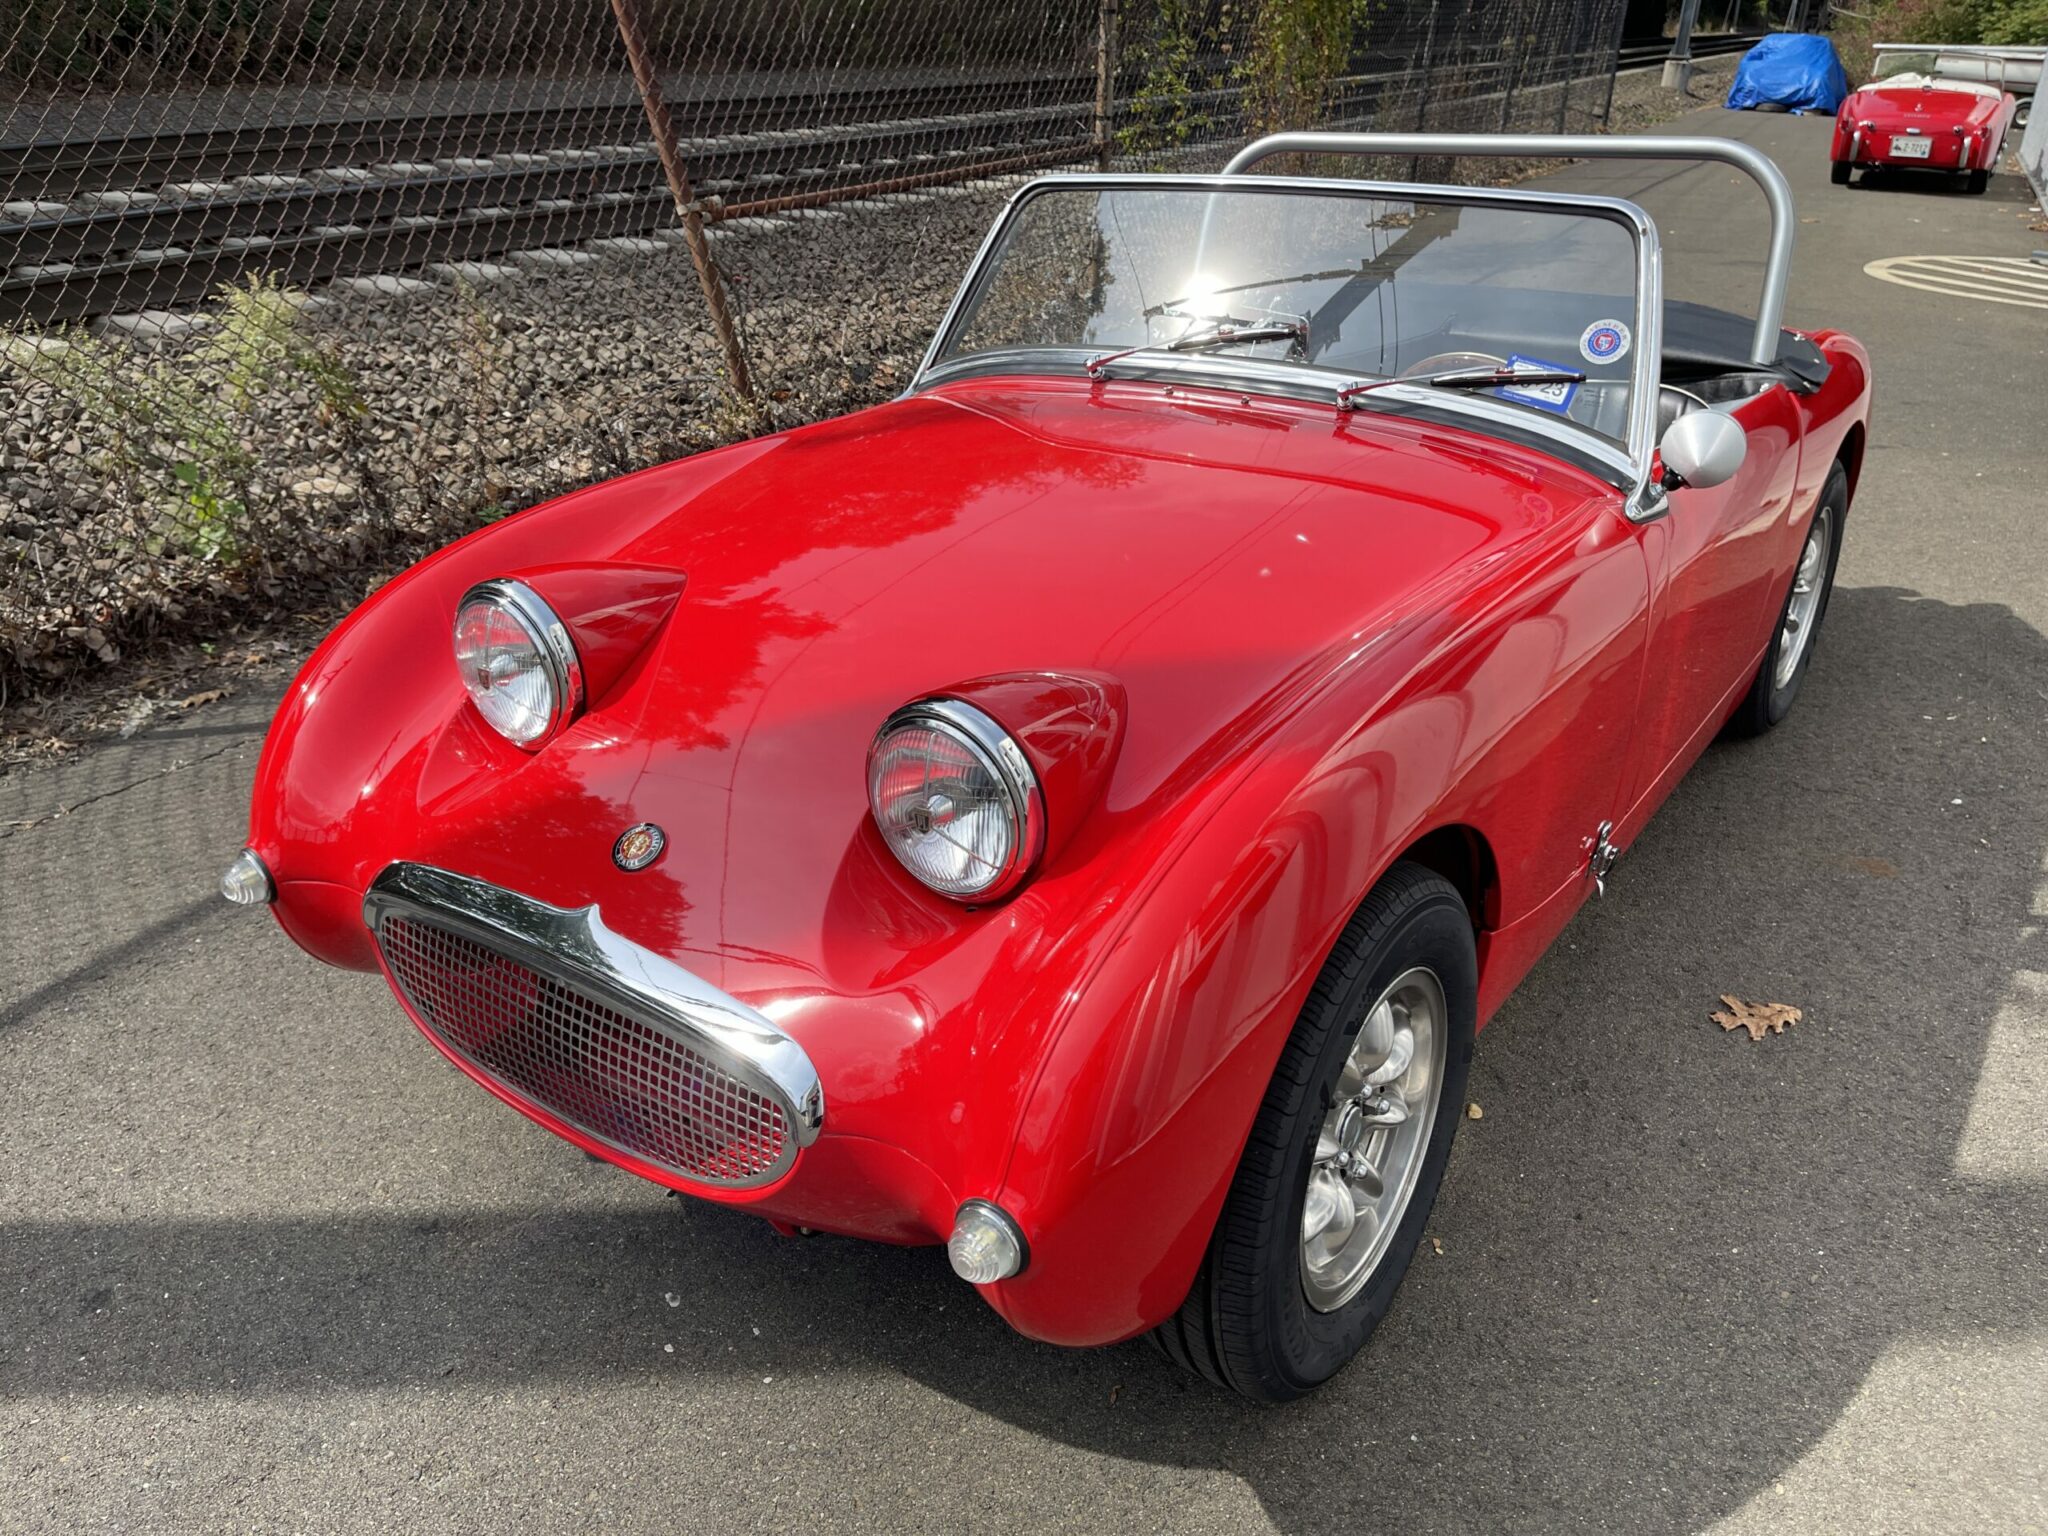
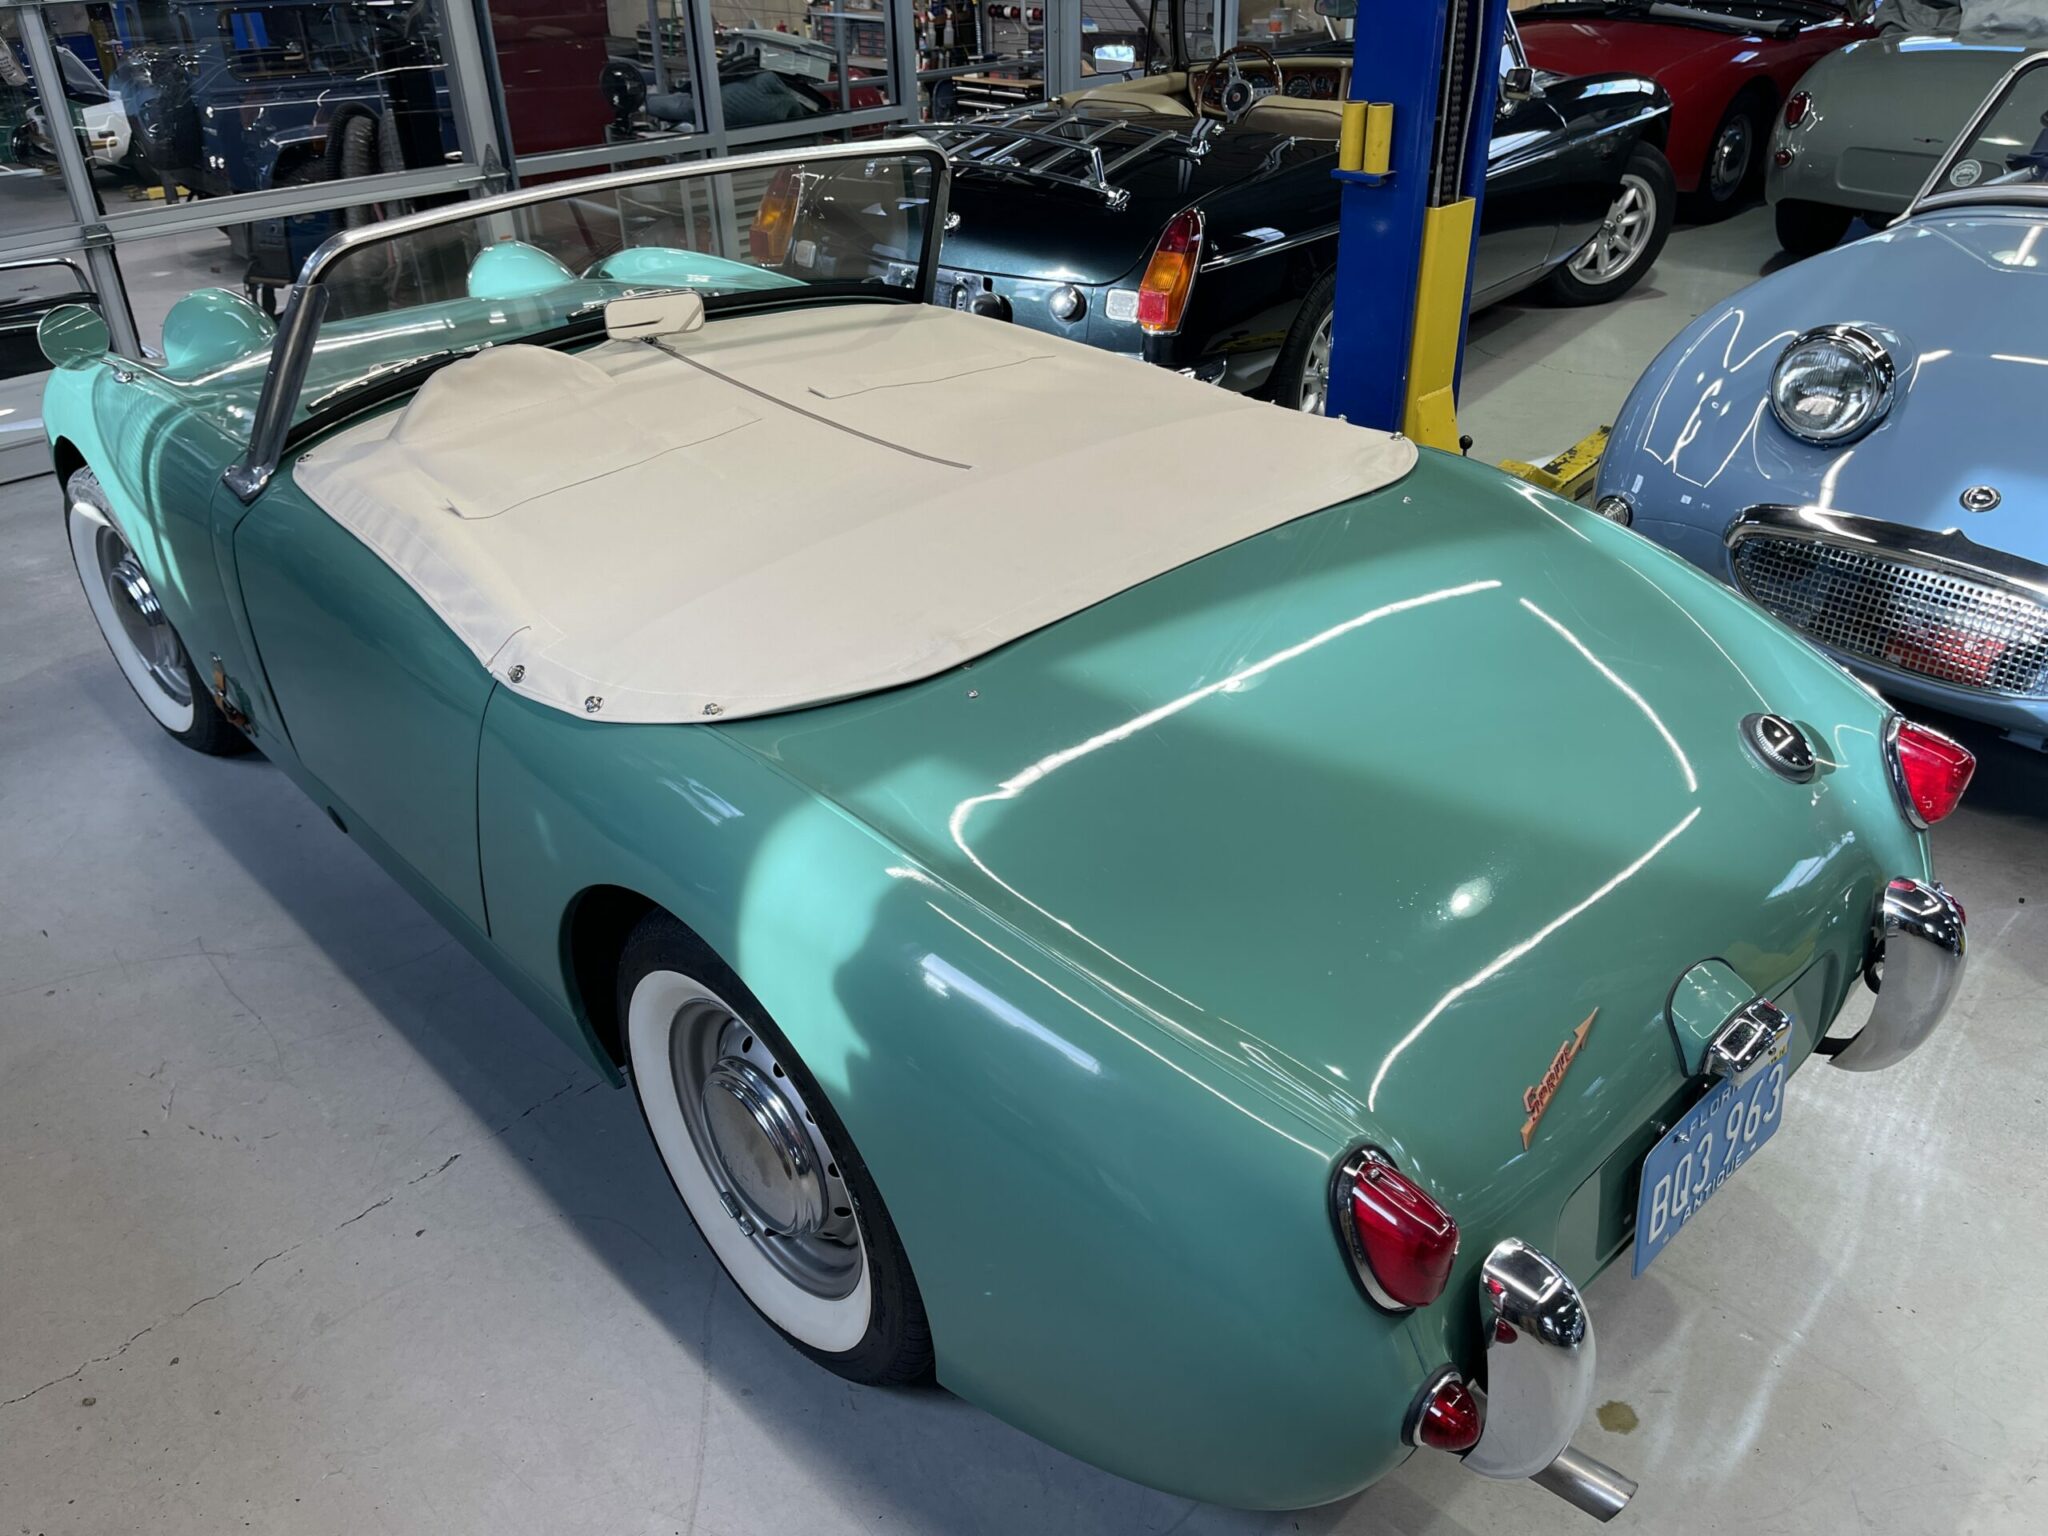
This piece of flat fabric may be the most important part of any Bugeye. It protects your cockpit in multiple ways. A tonneau also allows a bold color statement as you can see on “Flip,” our 401st Bugeye sold! The Cream tan Tonneau that we ultimately fit on the car looks delicious and coordinates nicely with the white wall tires.
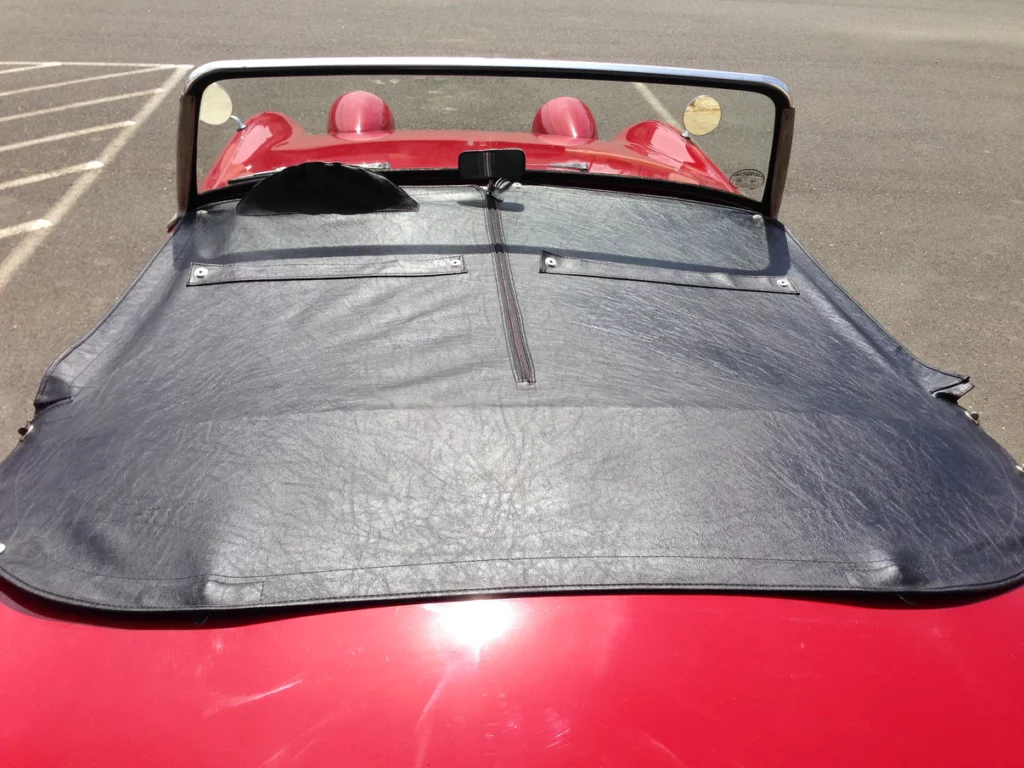
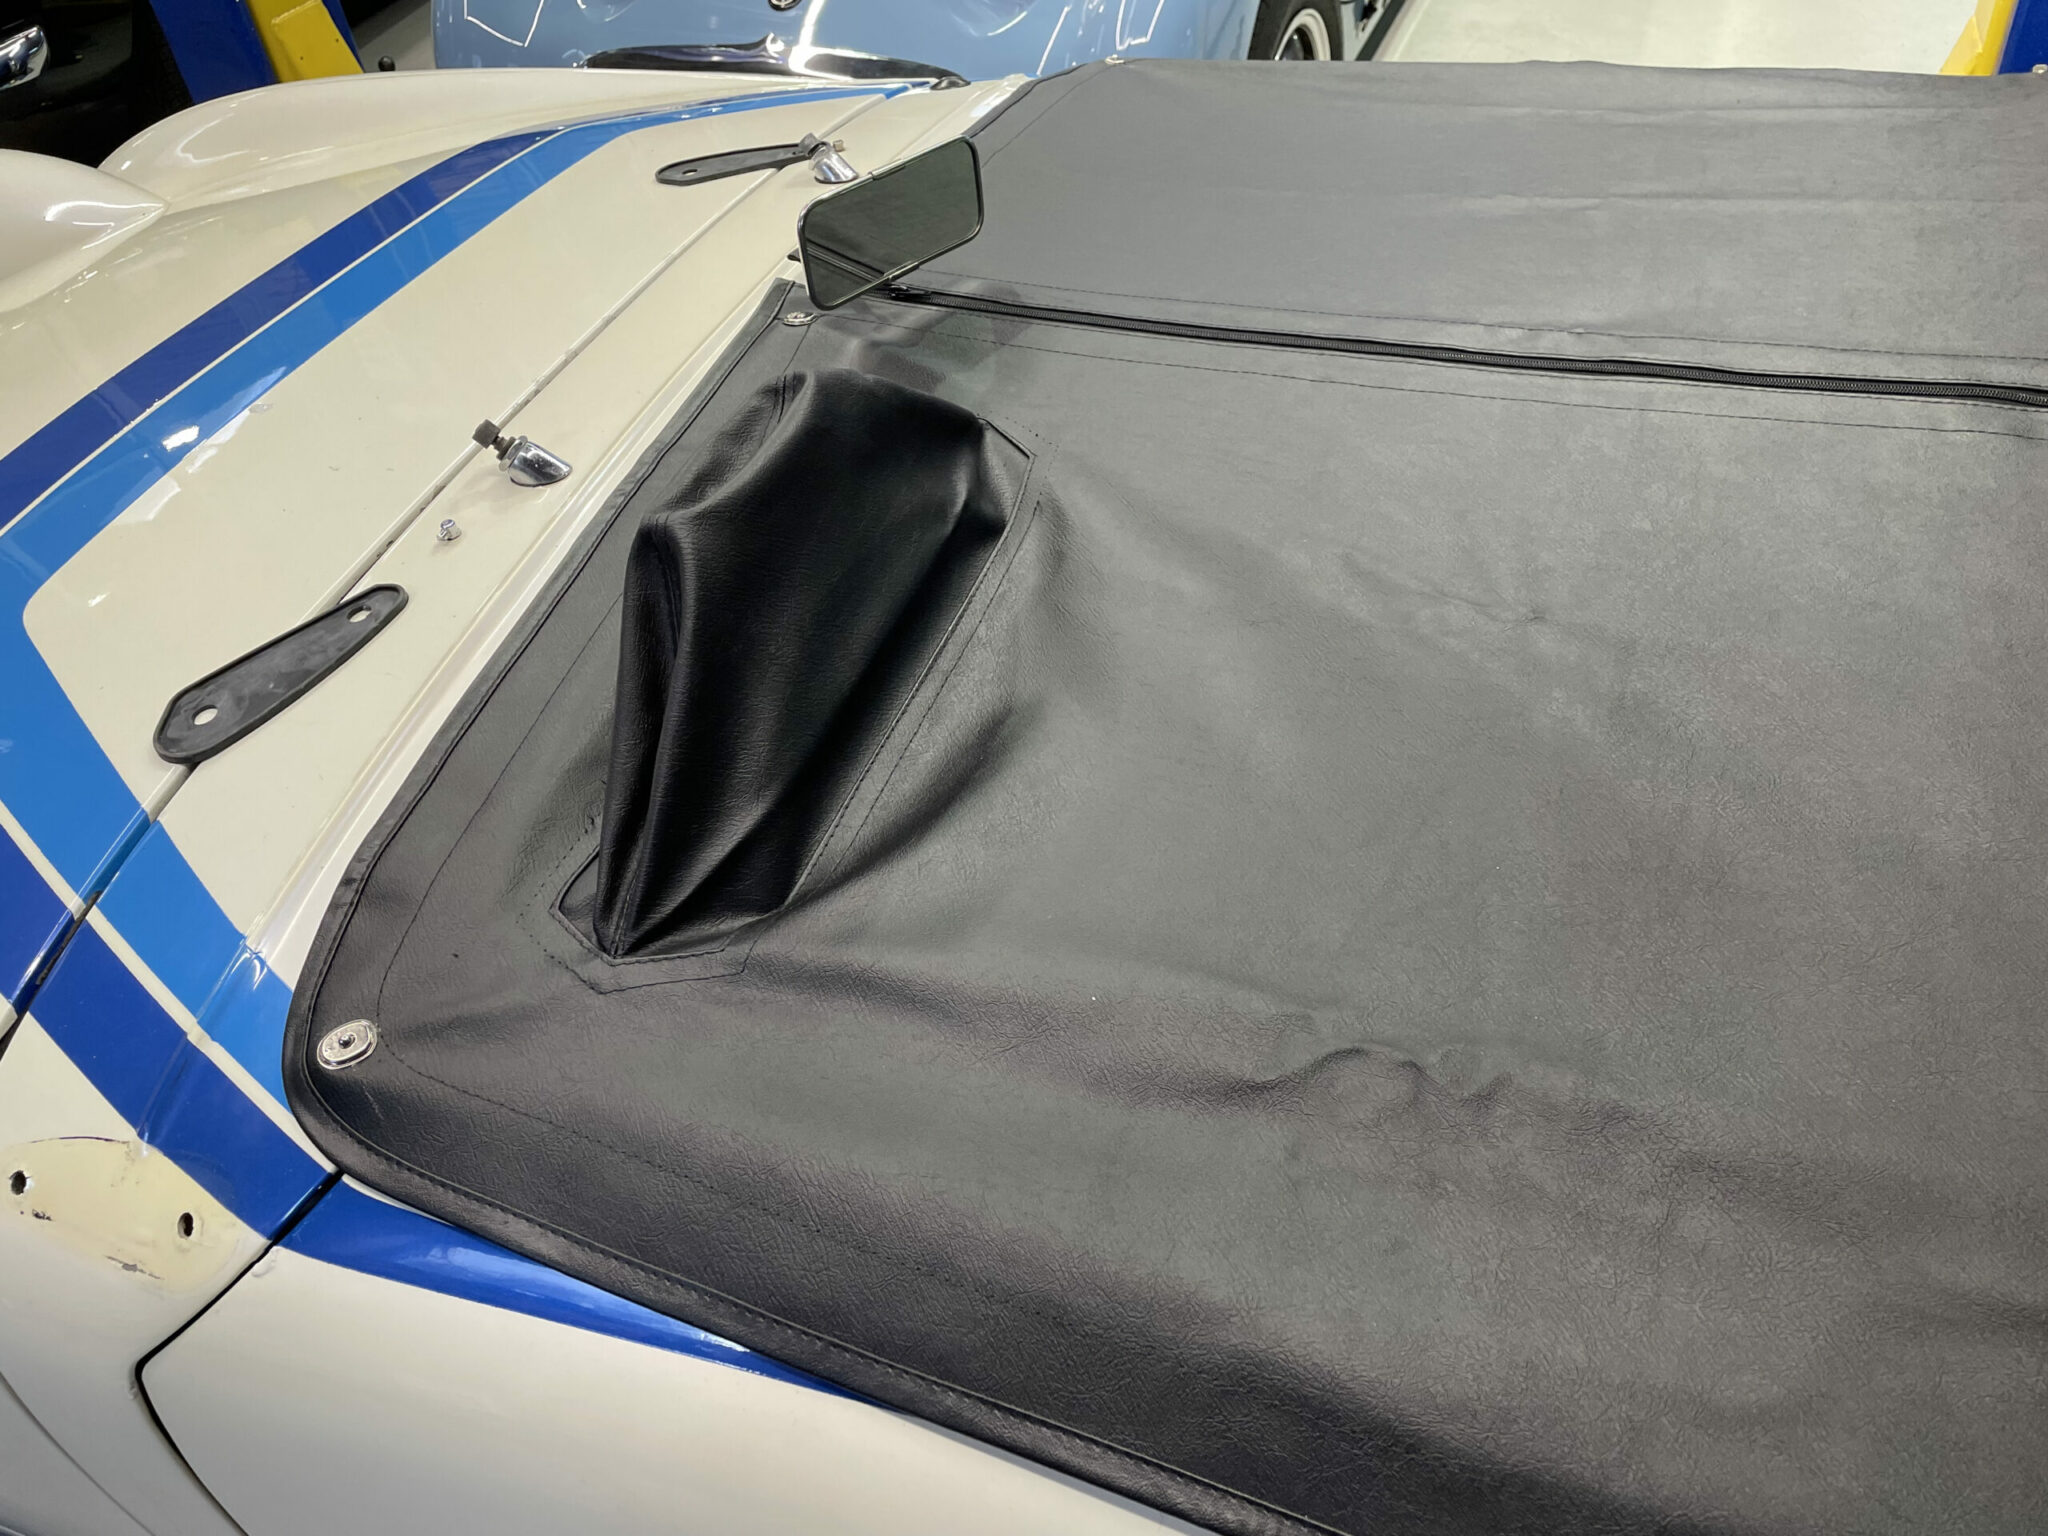
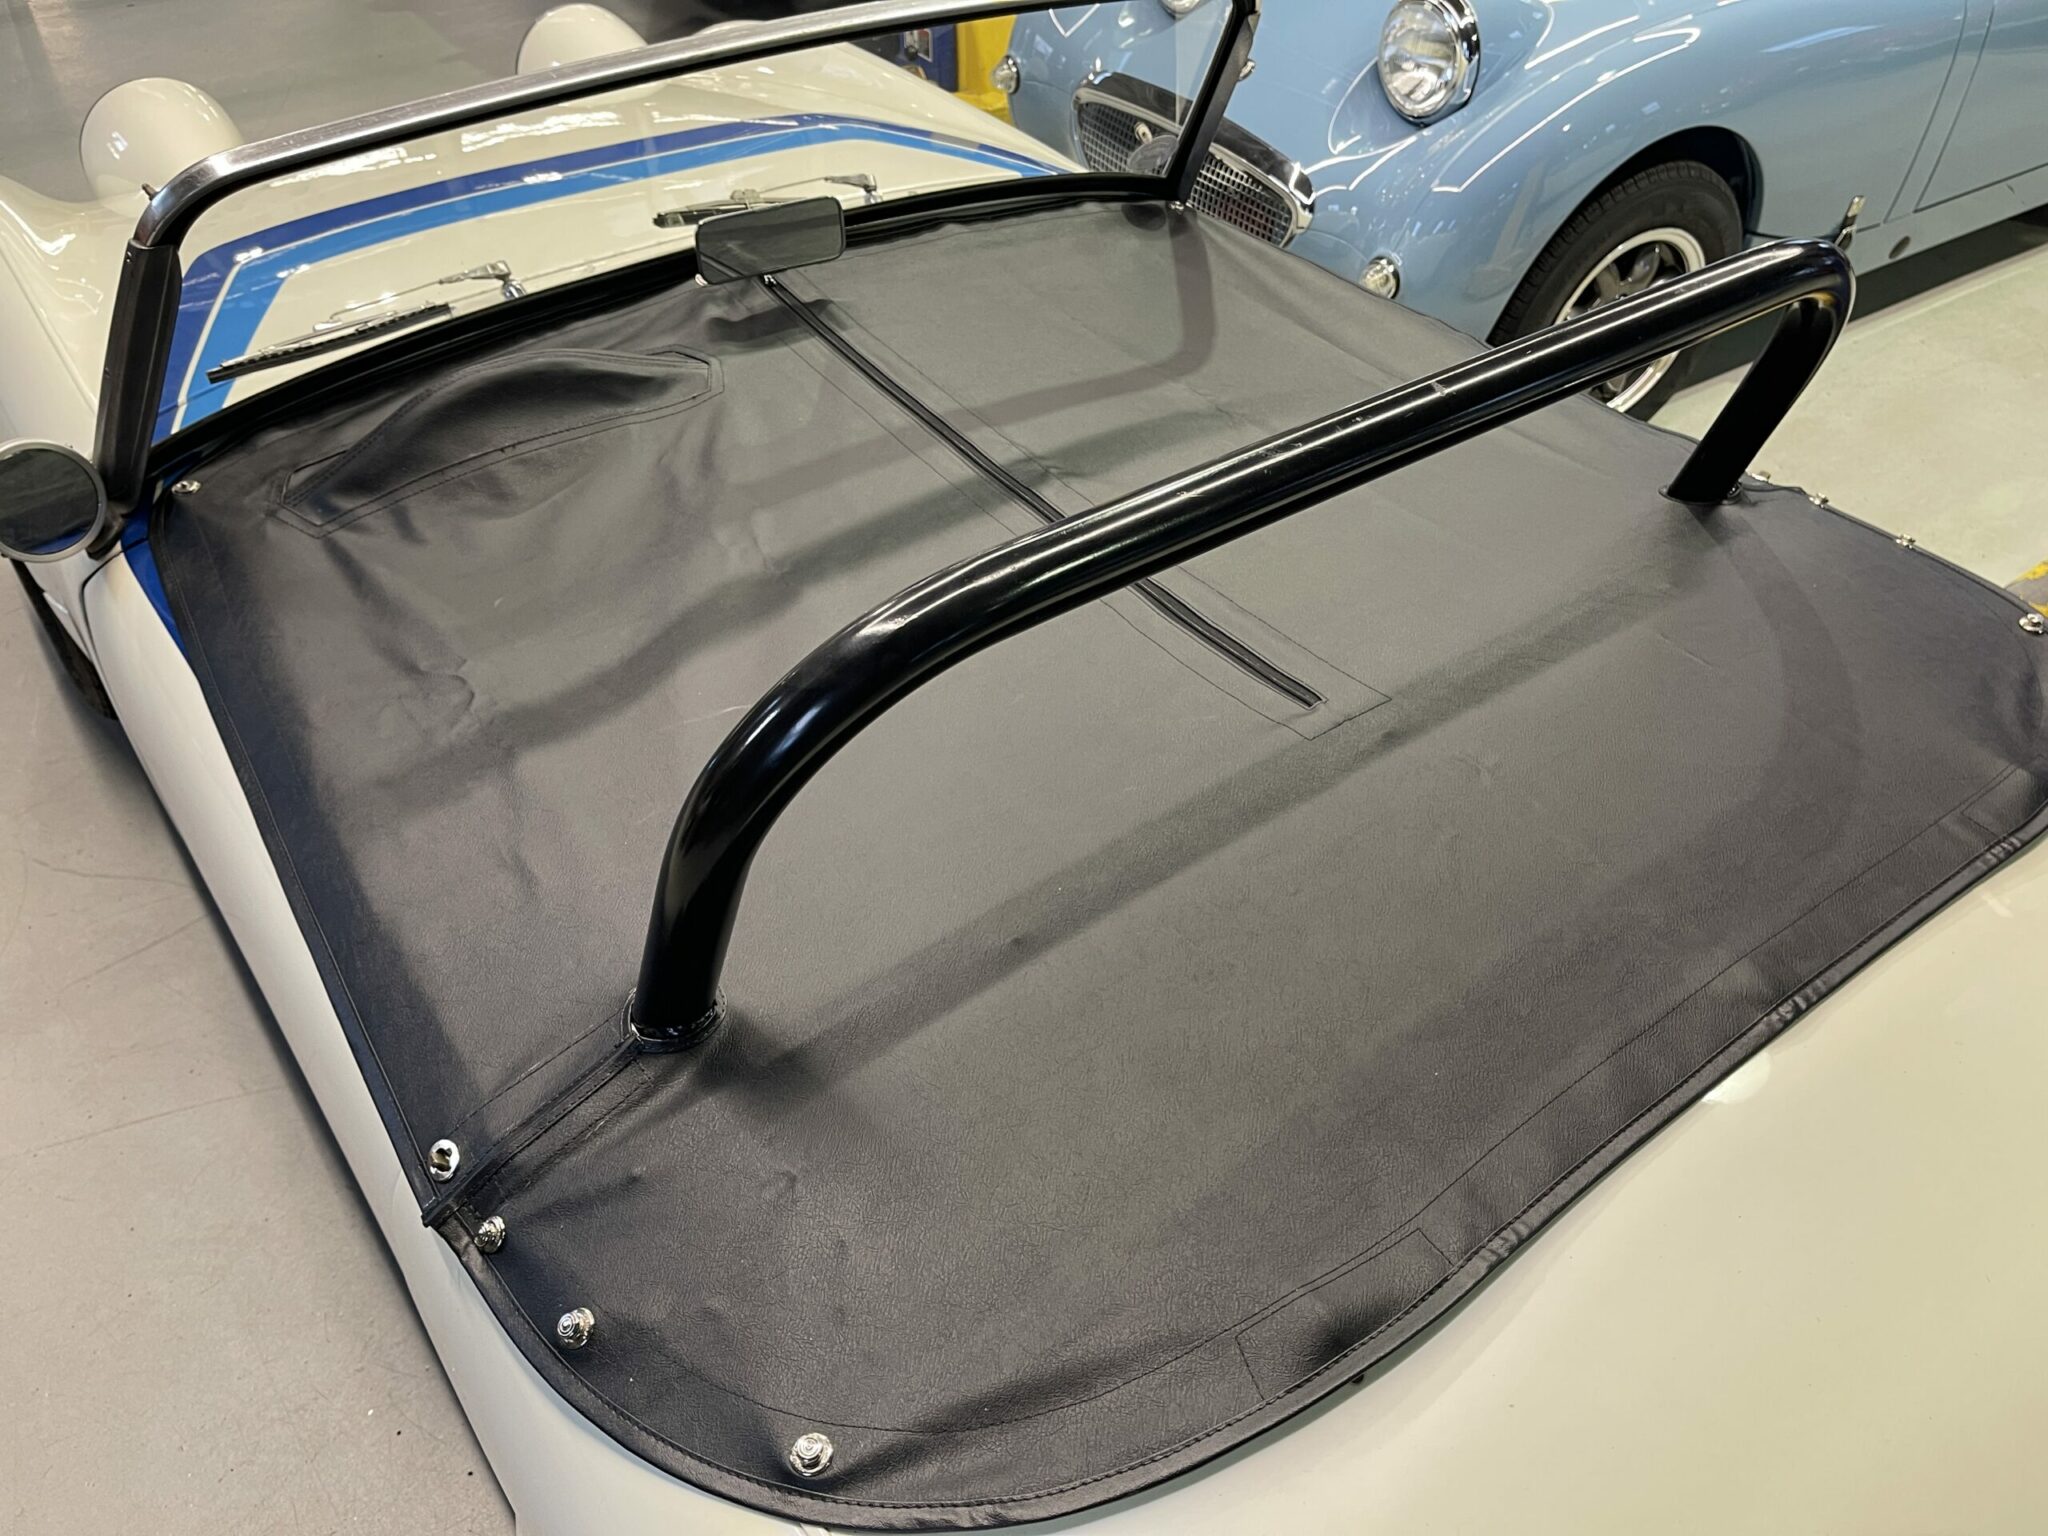
On Bart, our 402nd Bugeye sold, we custom fit a tonneau around his roll bar and also modified the pouch for his smaller than stock steering wheel. You can see the before picture here, and then after, the pocket fits the wheel nicely. Check out the video to see more about this particular custom tonneau.
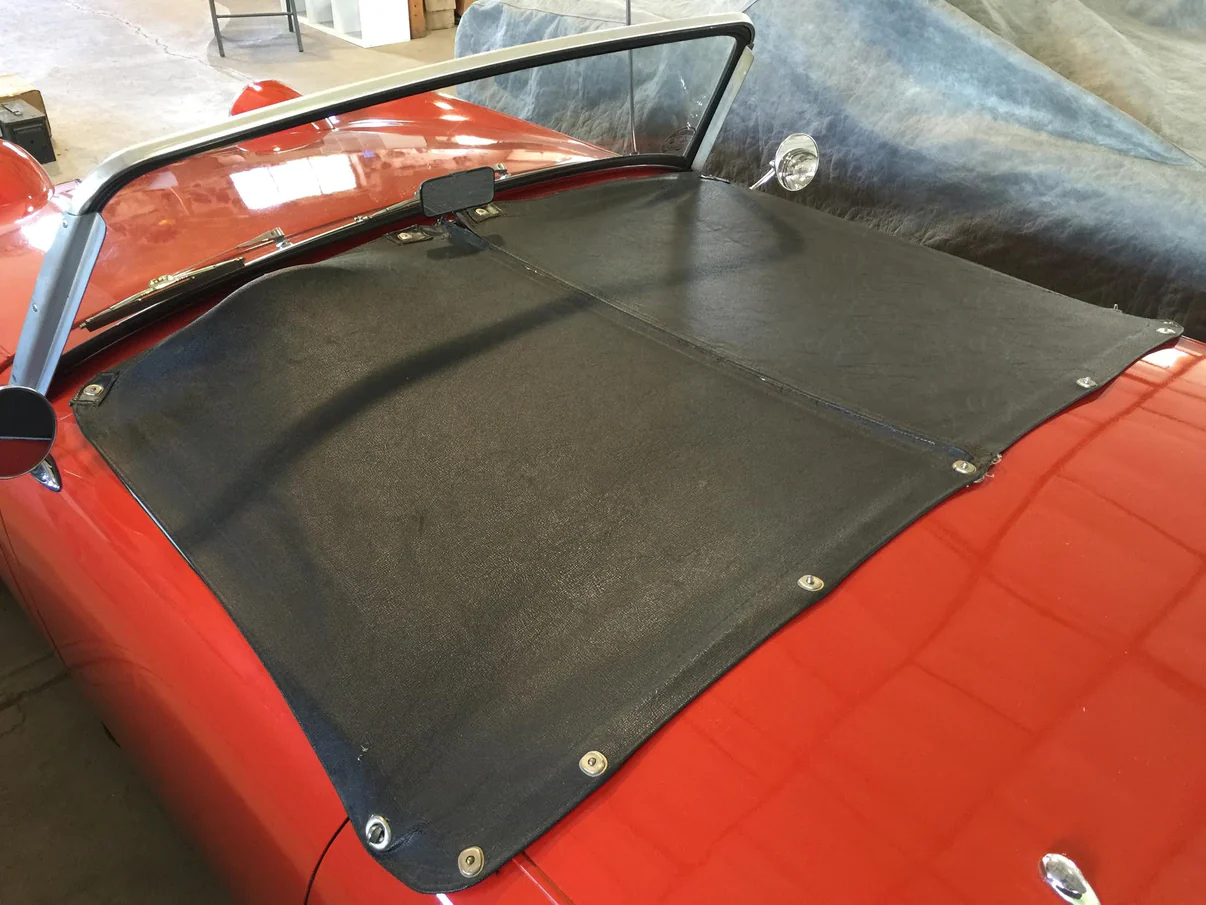
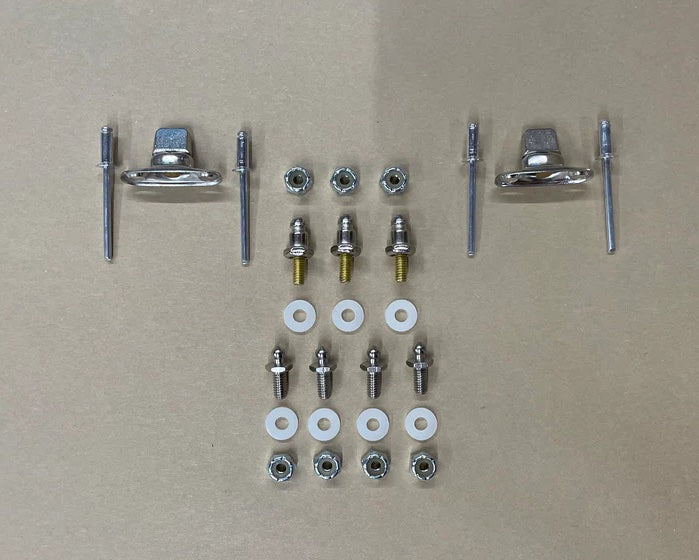
This cover is essential for every Bugeye and we sell lots of options. Click the photos below to browse and choose your own, as well as the accessories needed to install your own tonneau! You can also click here for our complete parts catalog.