Handbrakes matter. Most of them on cars of our vintage do not function as they should. This is a post to remind you to keep yours in top shape. You never know when you might need it!
They don’t call it an Emergency brake for nothing… if you drive a vintage car, you should find a big empty parking lot and go practice stopping by downshifting and using your handbrake. It may one day save your butt (and your car).
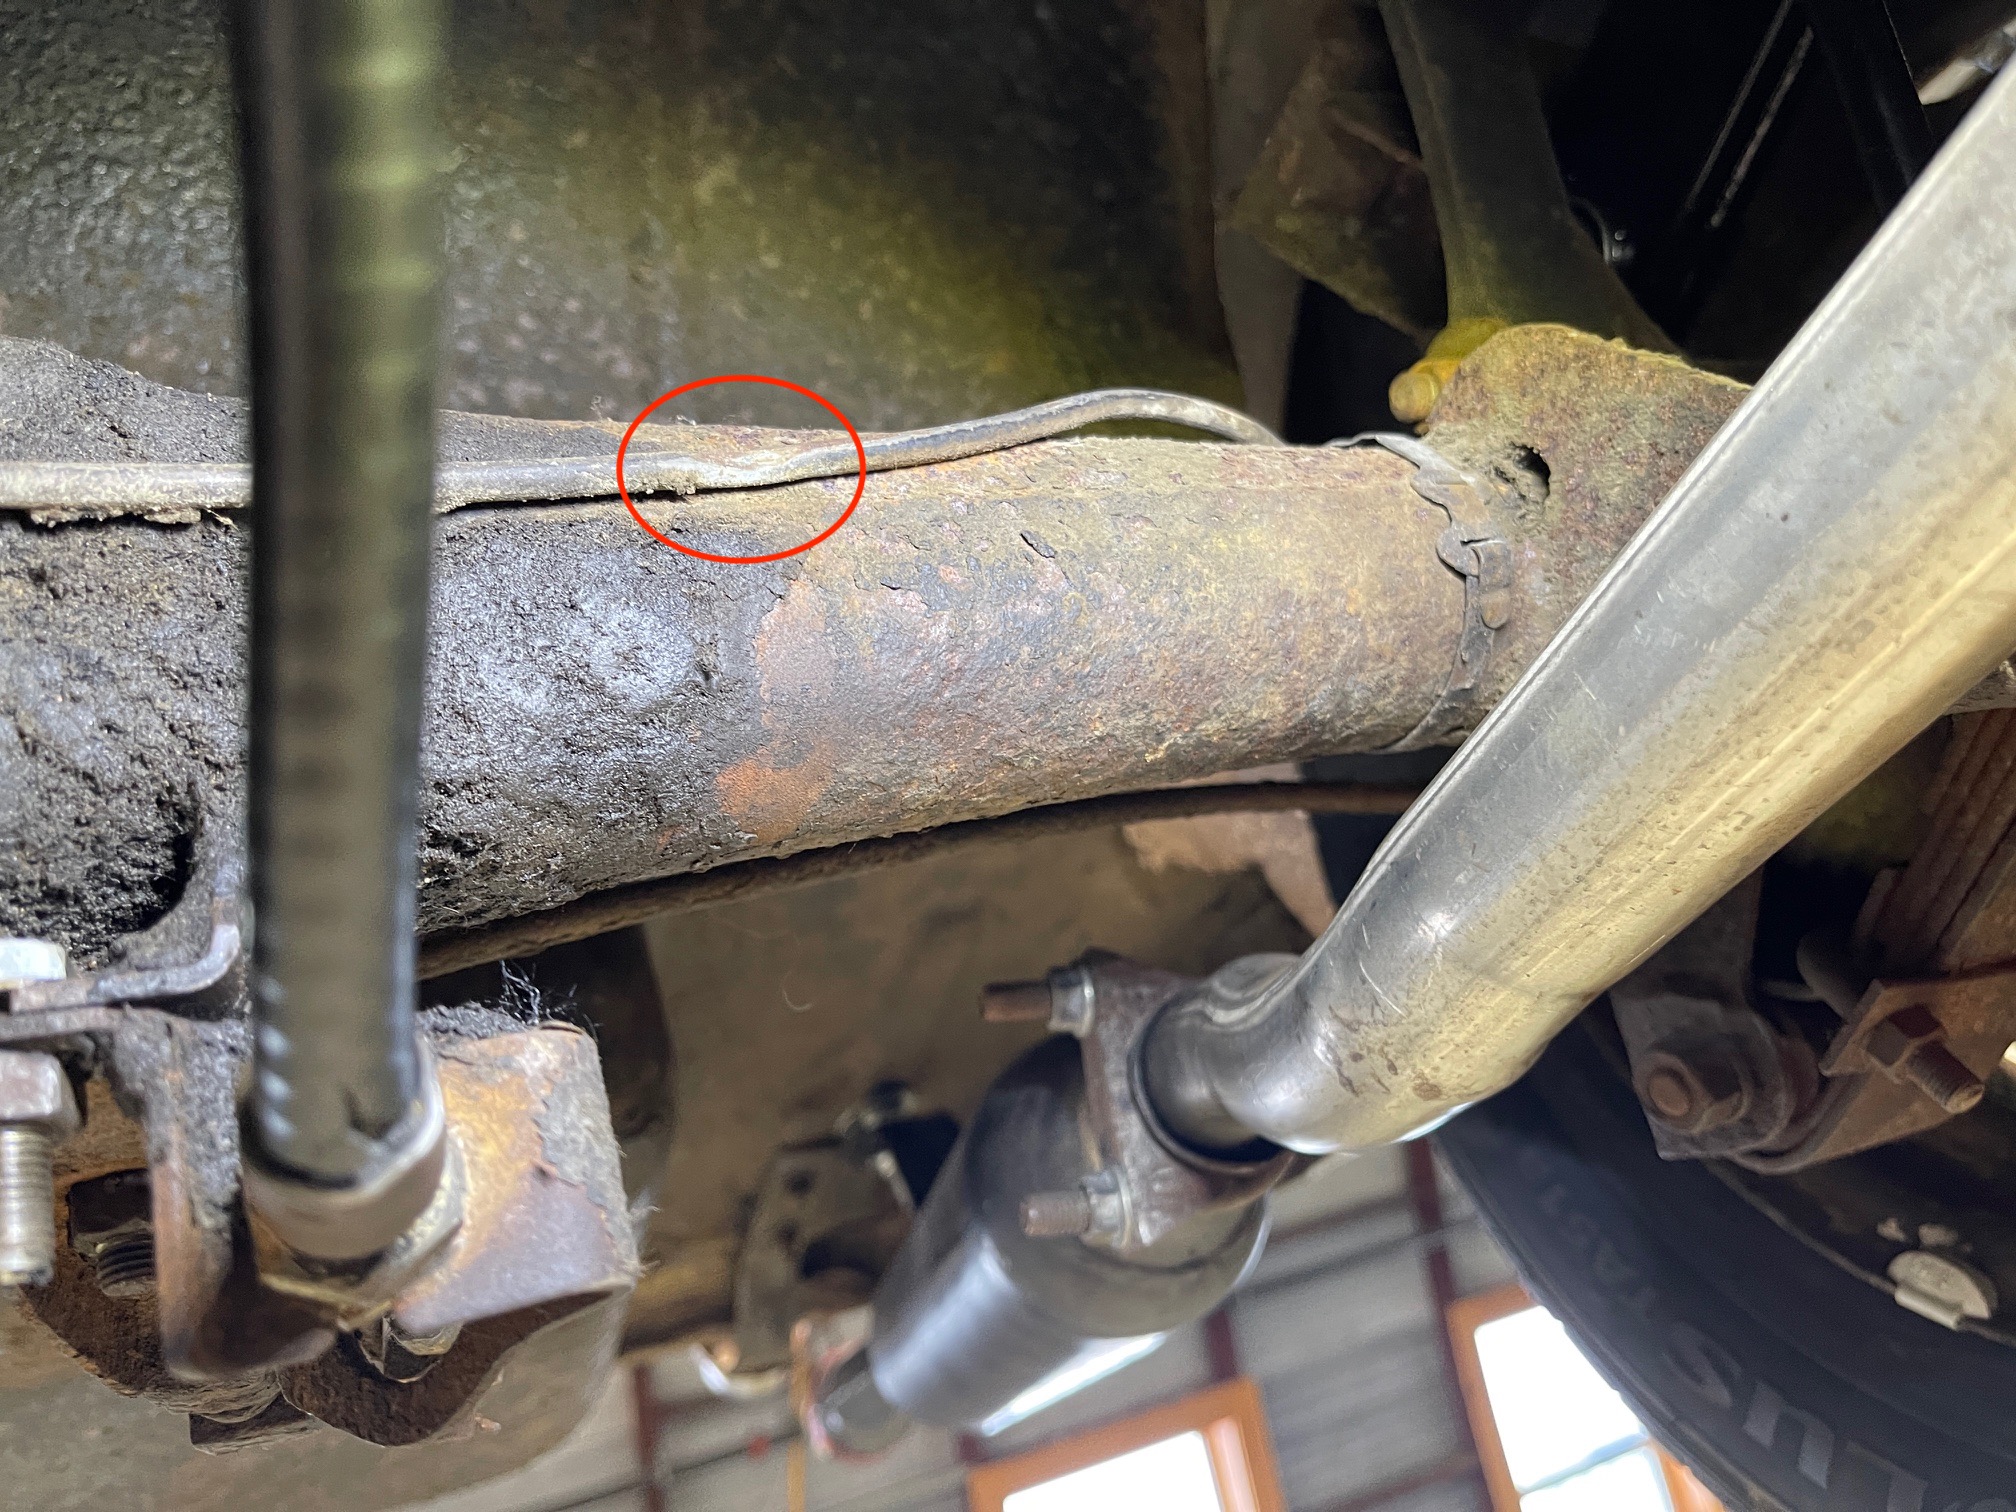
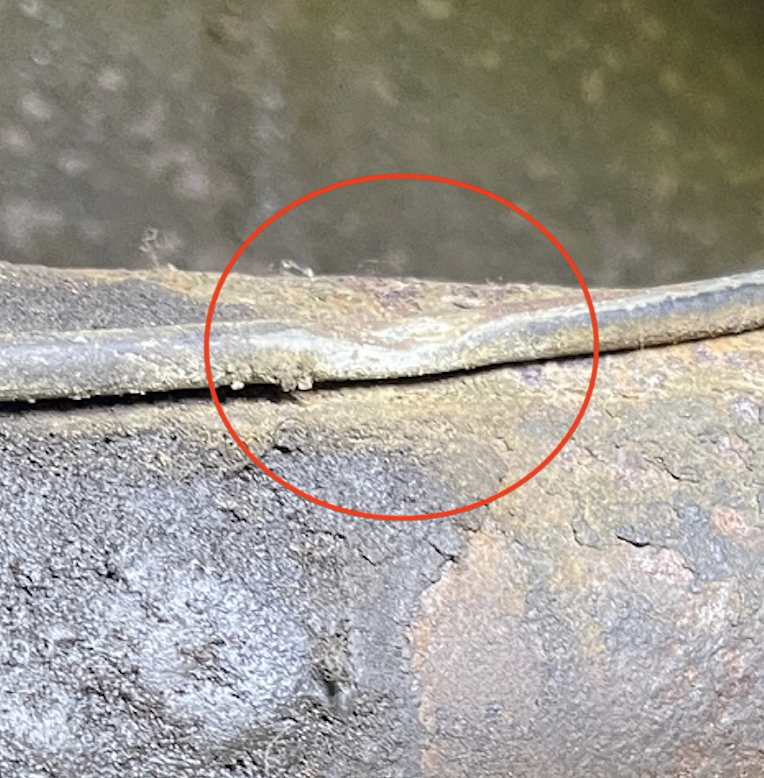
We’ve got more than 400 Sprites out in the world and have had zero loss of brake issues. But should a hydraulic hard line brake on your classic car, you’ll bleed out the fluid and loose your brakes. Or maybe you haven’t checked your hydraulic fluid in too long and it has been leaking out your wheel cylinders… but you didn’t realize it… classic cars do not have the redundancies and warning lights found in modern vehicles. If you lose hydraulic pressure, a good handbrake can make a huge difference.
I made the video below so you can go out and practice, and should you ever have a system failure, at least you will have practiced safely bringing your car to a halt with the handbrake. Remember to start slowly and get used to the greater braking distances when you practice a handbrake stop. The front brakes do the lion’s share of braking, so it will take a lot longer to stop with just the handbrake. But a good handbrake can still stop your car effectively, as shown in this video. And one day, that good handbrake may just keep you safe.
Your handbrake is also an important diagnostic tool. Pulling the handbrake is the fastest way to determine if your rear brakes are functioning properly. I have purchased hundreds of classic cars over the past 20 or so years and a shocking percentage arrive here with non-working rear brakes. Pulling the handbrake has been a quick way to ascertain if the rear brakes are working or not.
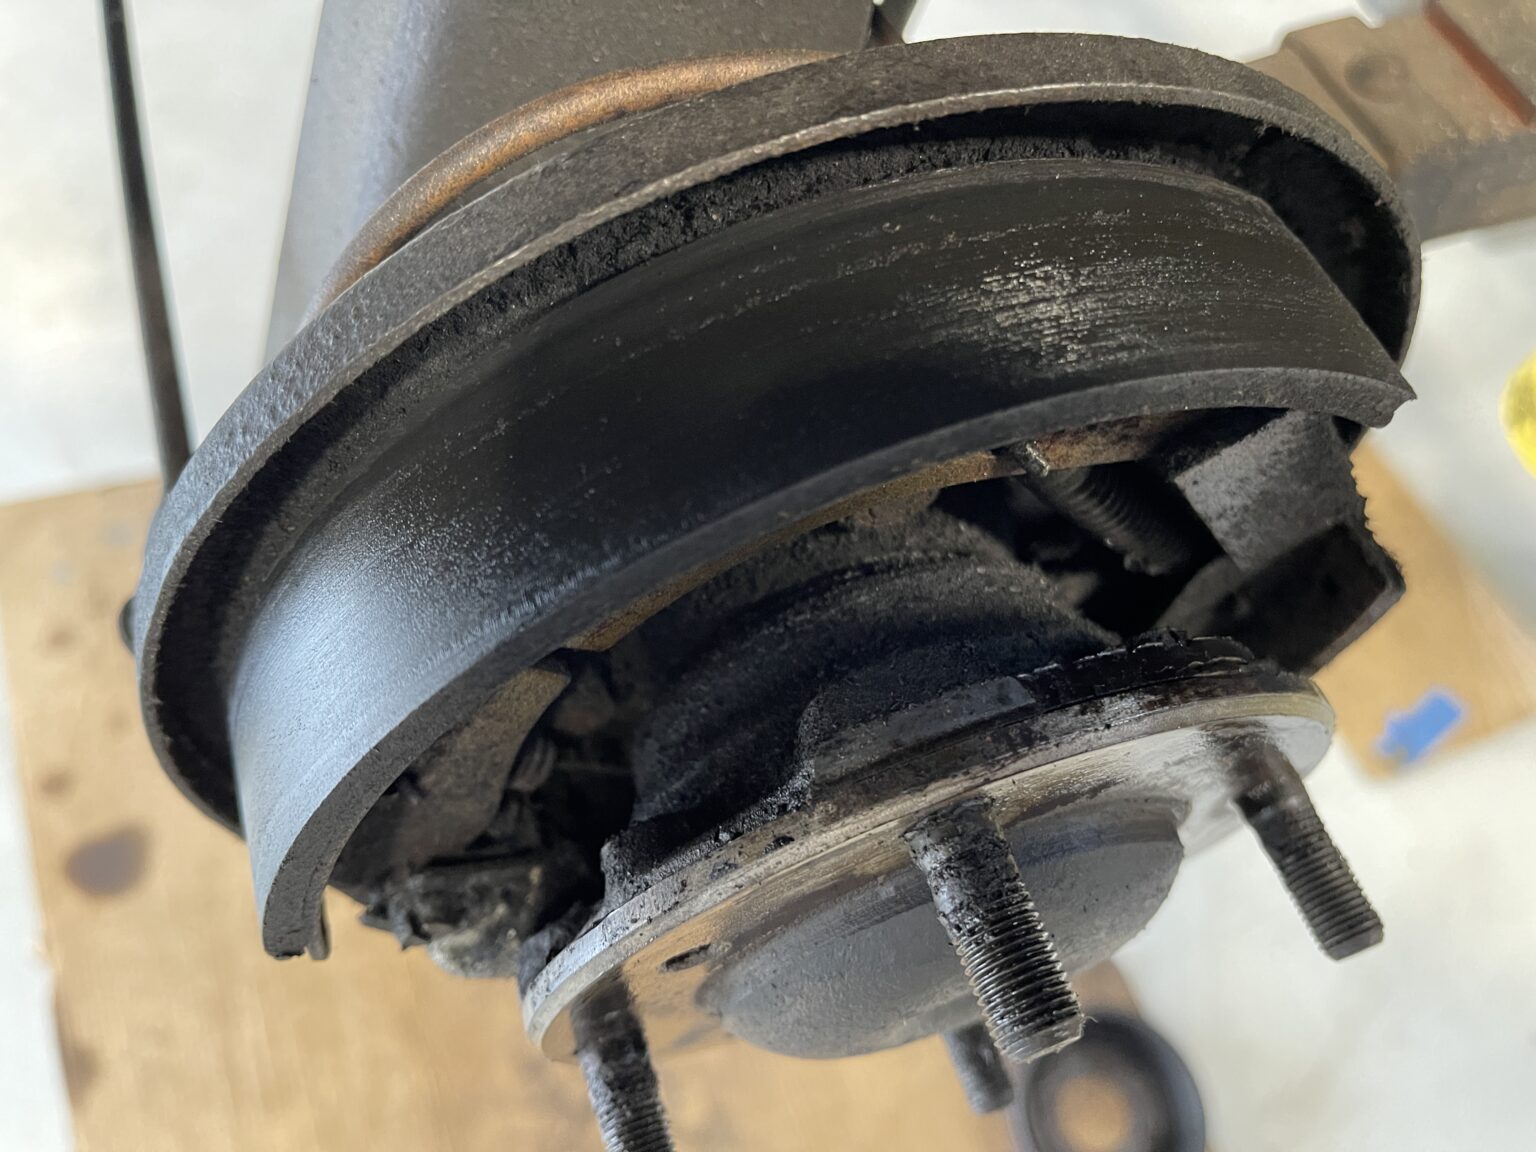
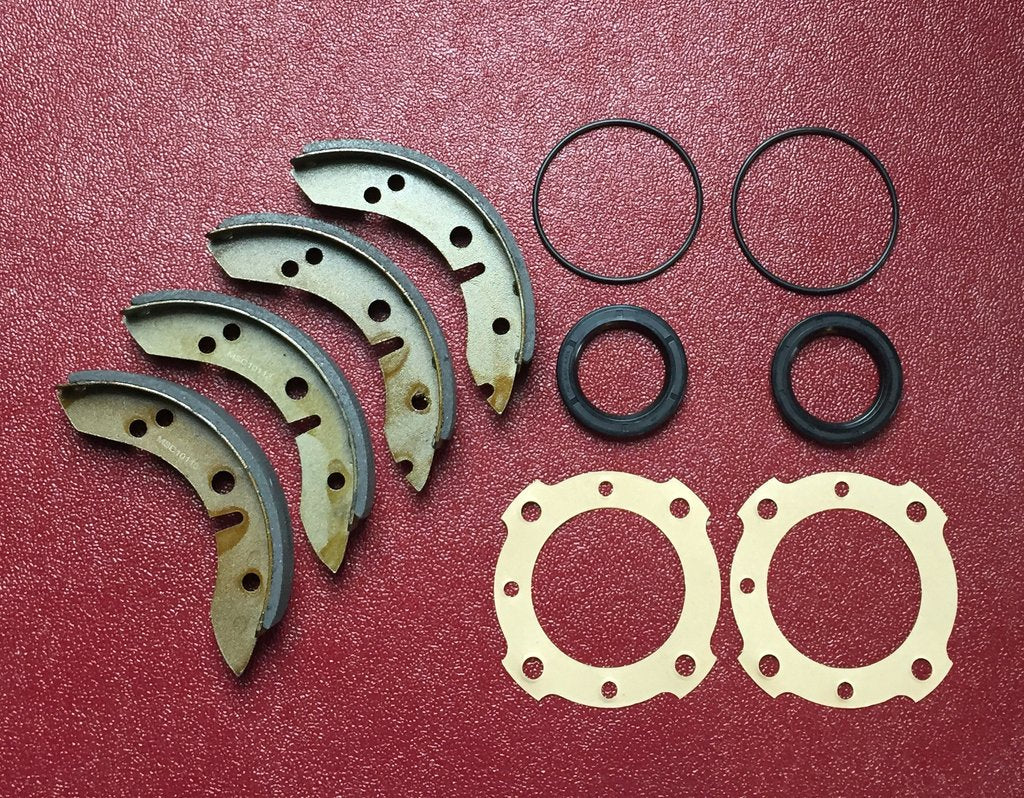
Brake Shoes get wet with oil. The wheel cylinders leak or the axle seals leak (or both). Sometimes, the shoes are not properly secured to the backplates. Any and/or all of these things can diminish or destroy rear brake performance. It’s always smart to remove the drum and make a visual inspection. But if you pull the handbrake and nothing happens, you’ll need to make that inspection sooner rather than later.
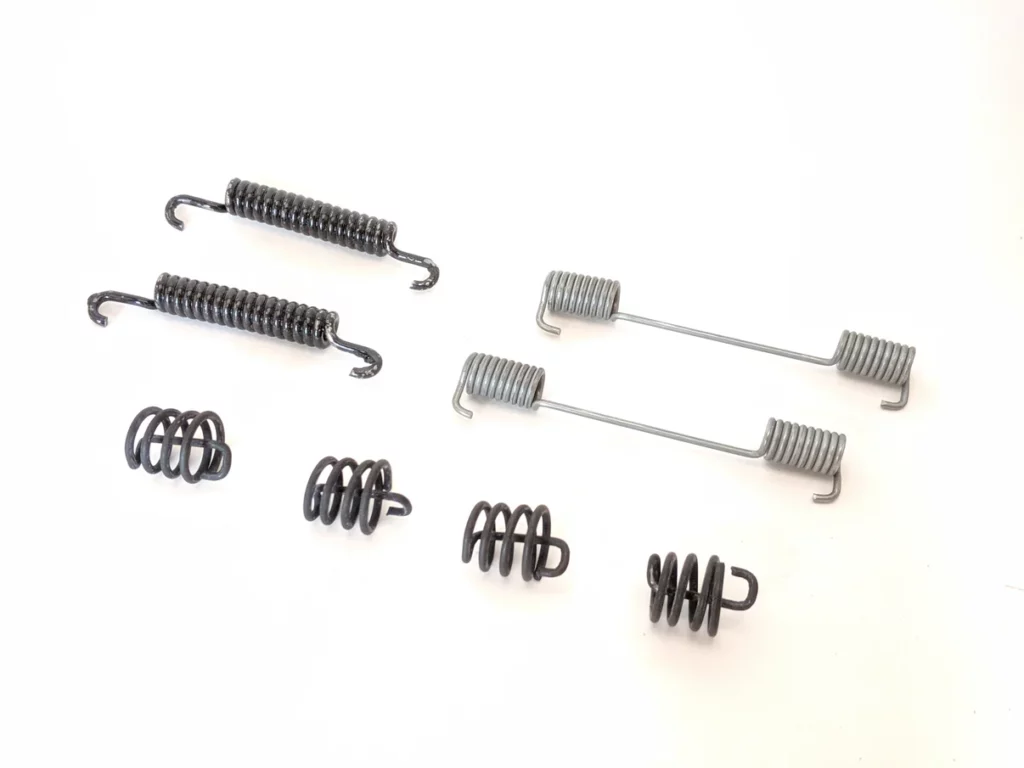
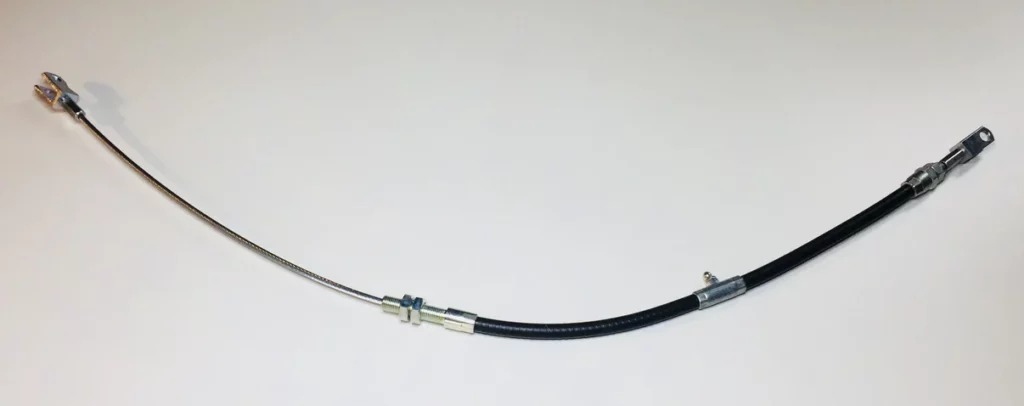
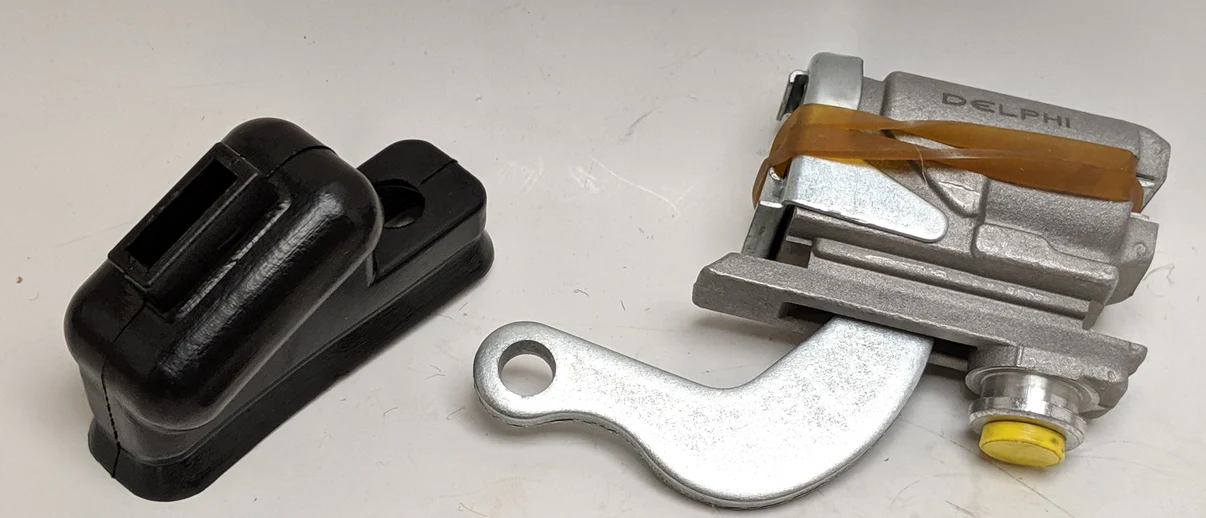
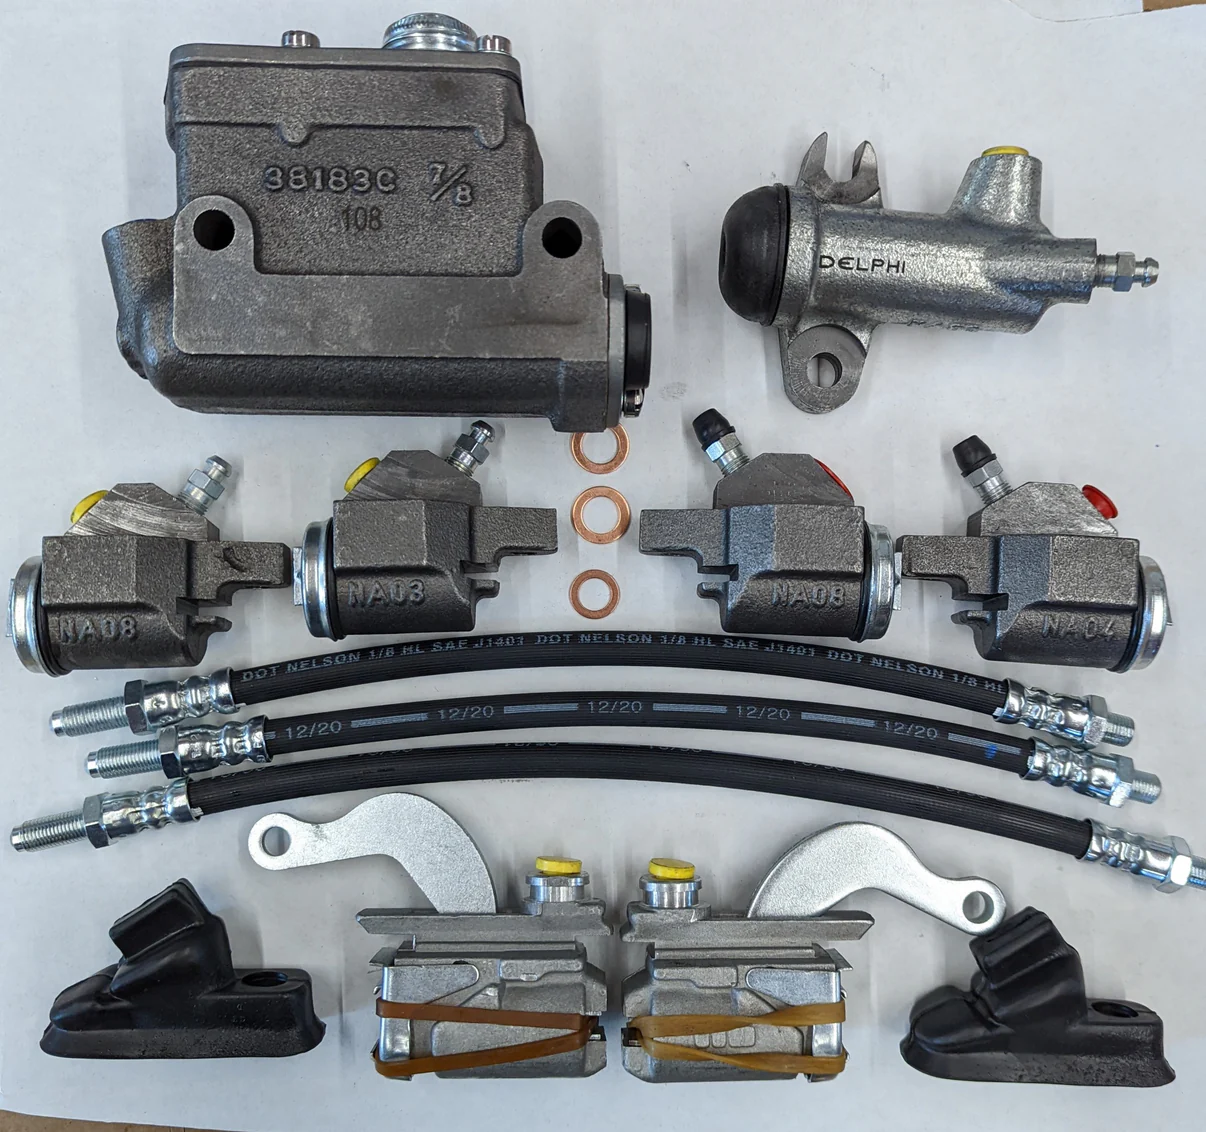
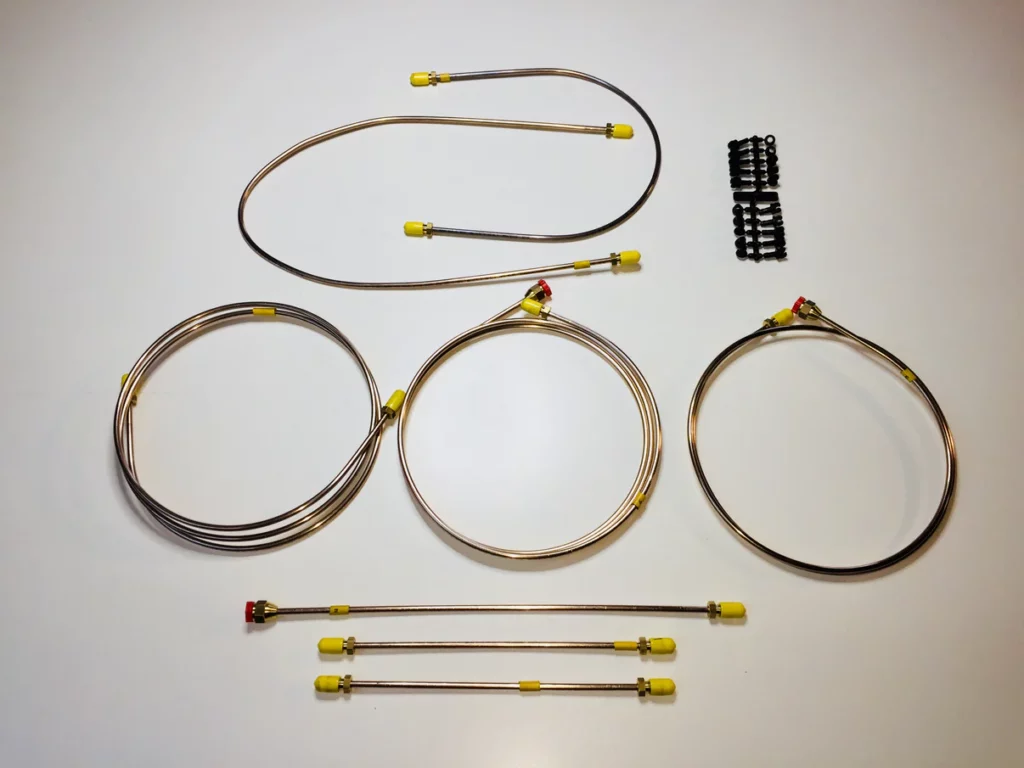
We carry a full line of parts in our catalog to restore and optimize your braking system. We encourage you to make your rear brakes work perfectly! This will shorten your braking distance and make your car safer. Click the links below for more information on some of our brake components or click here to view our complete catalog!