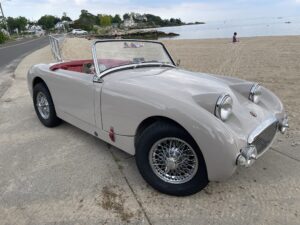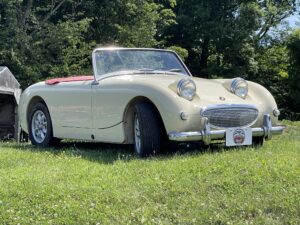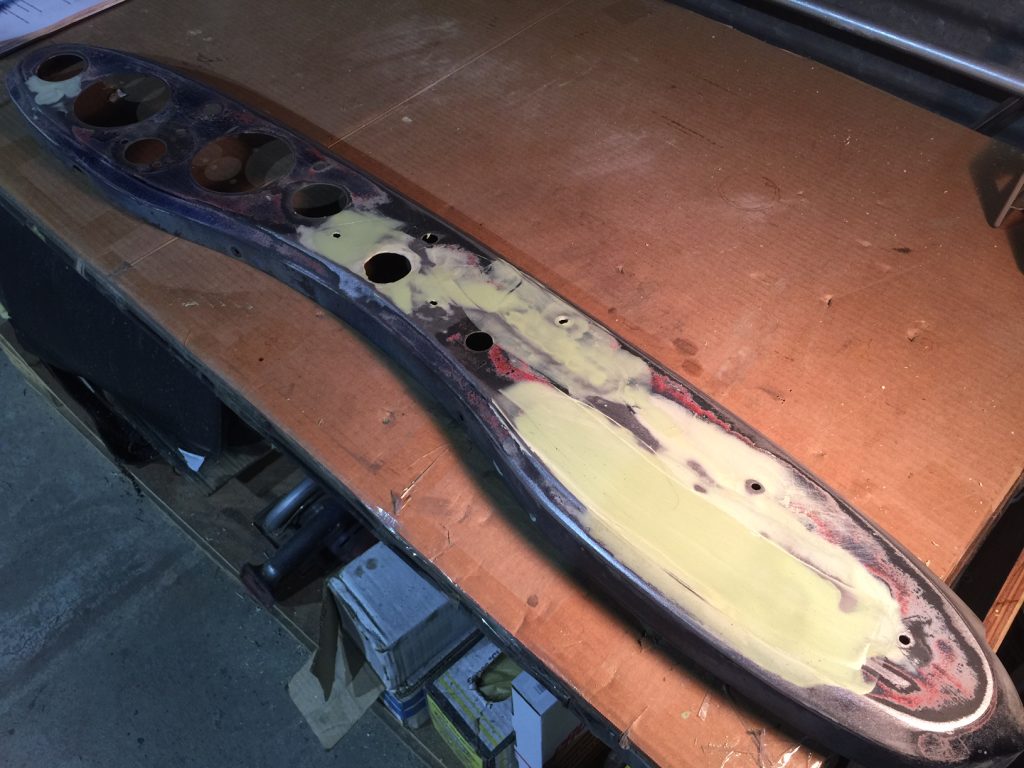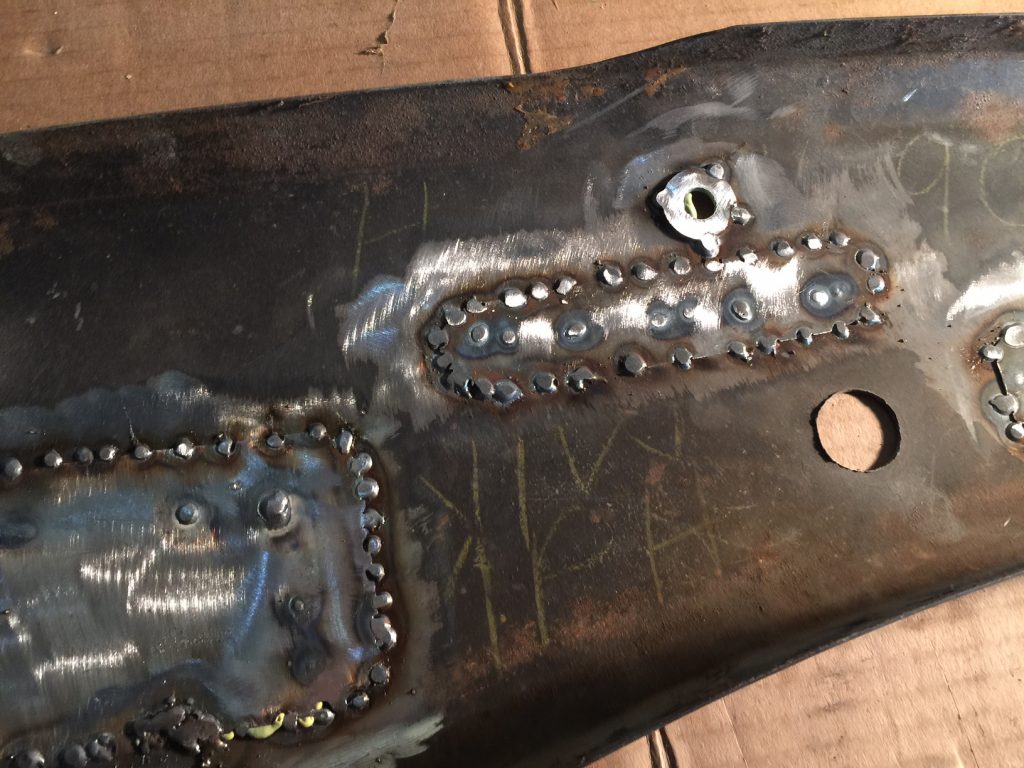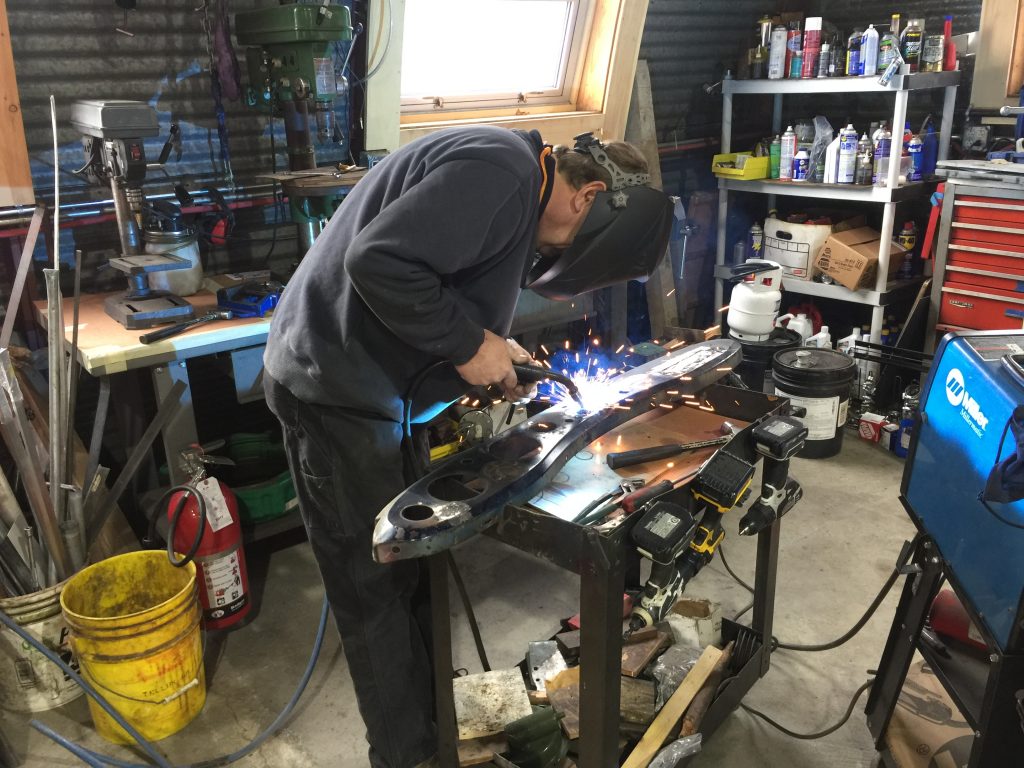
Here’s Russ welding-up a bunch of errant holes in Gumby’s dashboard, as we prepare it for recovering. This dash was a mess, with lots of extra switches, an ammeter gauge in the ignition switch hole and a non-stock ignition switch hole near the fuel gauge. There was also a gaping hole where a radio once lived. I had covered all these holes with vinyl back in the 70s and now it’s time to fix it right.
Many people simply cover-over all the holes when they fit their vinyl or leather cover, but unless you weld and fill the metal, the vinyl shrinks into the holes over time, and telegraphs these older alterations. So if you are recovering a dashboard, best to first fill and smooth the entire face, so that you get a great result. Here’s another example of preparation making all the difference before the final cover goes on.
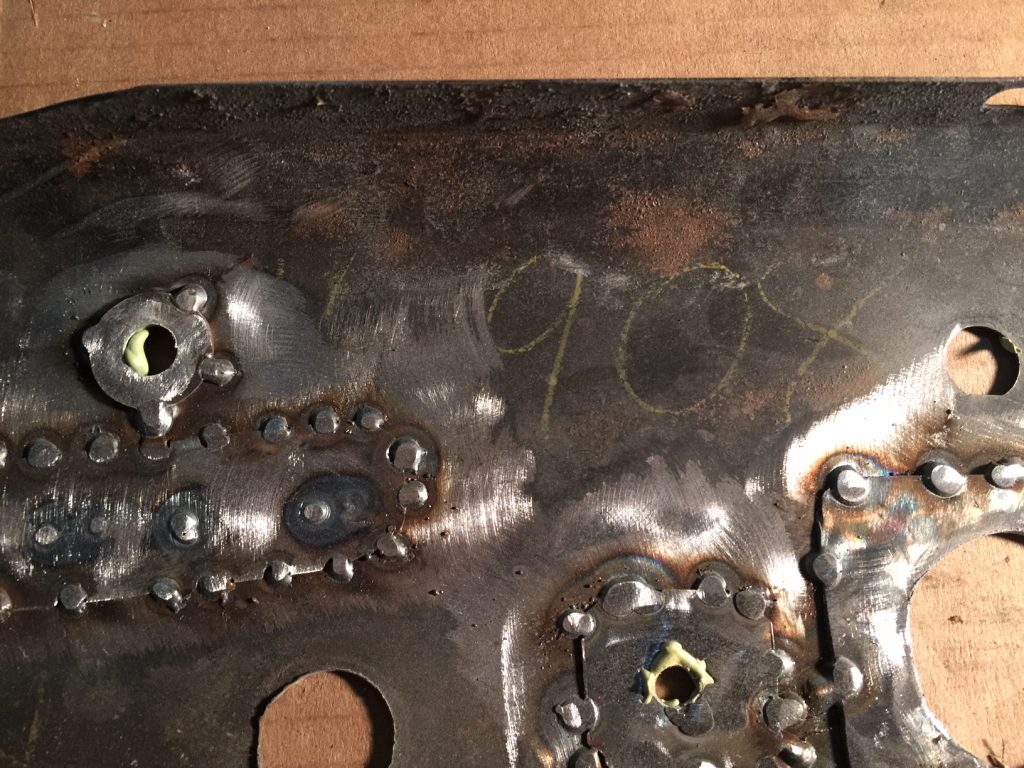
It’s important to me to restore Gumby with the proper center ignition and lighting switch so we had to weld up the former ammeter hole that had been added, and to then cut out the proper hole in the patch for the correct factory switch. The back of the dash shows all our patches, which will now be hidden for the life of this car. Our focus is a smooth and original spec dashboard front. And so we use body filler to fill and smooth the face of the dash so that nothing telegraphs through the final new covering. Below you can see the dashboard smoothed-out and ready to be covered.
One interesting bit of trivia-the original dashboards had perforations for the radio cut-out so that dealers and customers could easily load an AM radio into the dash upon arrival at the dealership. On rare cars that still have their original un-cut radio knock-out, you find that the perforations usually telegraph onto the original vinyl dash cover. So while it’s nice to have an uncut original dash, the covering will likely show those perforations on the vinyl, thus motivating most restorers to recover their dash anyway. Then you have to wonder if makes sense to fill the perforations so the new covering doesn’t eventually get damaged all over again!
Another interesting piece of trivia is that the back of the dashboards always show the chassis number for the car. Here you can just make out Gumby’s number, 14,908, still in the original yellow crayon used in the factory. This original number is one reason we spent so much time restoring this dashboard, in oder to keep it with its original chassis, even though no one will likely see these numbers again.
Also of interest is the options coding on the back of the dash, also in yellow crayon. Gumby was built with windshield washers (WW), heater (H), rev counter (R), and miles per hour speedo (MPH). While many of these items were optional, we have never seen a Bugeye that didn’t come with the above options. If you want to know more about what came on our car, you can now purchase a heritage certificate from us and we will get you the official build sheet for your car. See more info on that in the next post or click here to order a “birth certificate” for your car. If any readers “go inverted” to read the back of your dashboard, please ask your spouse to take a picture (of you!) so we can post it for a future “picture of the week!” (been there many times!). We also welcome pictures from behind your dash… maybe yours lists a rare option not previously seen?
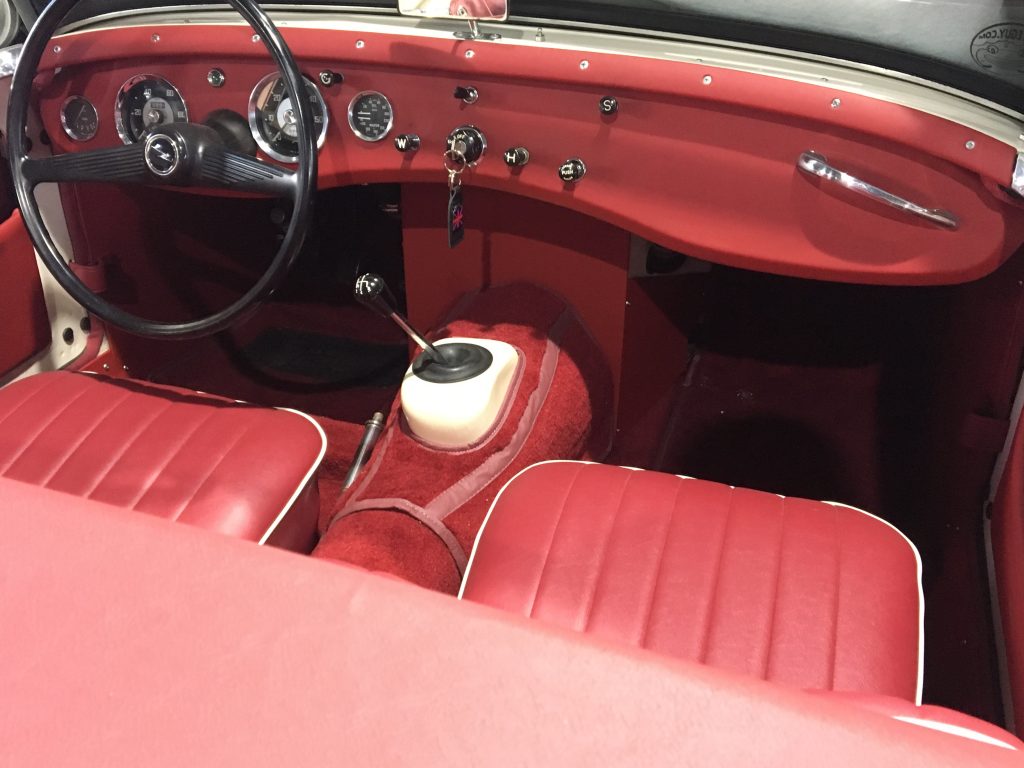
Once all this dashboard work is complete, we will have a completely stock dashboard as shown below. Notice the fractional fuel gauge as well as the proper Frogeye combo gauge with a slightly different type font than what you would find on MGBs and other British cars. Also notice the correct C and S knobs for choke and starter. Everything you see in the photo below is correct and matches the original dashboard and switchgear.
There are a lot of bad reproduction parts out there. In our catalogue, we have every part shown below so you can build a correct bugeye interior. Head over to the dashboard section of our catalog by clicking here.
