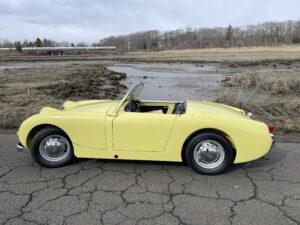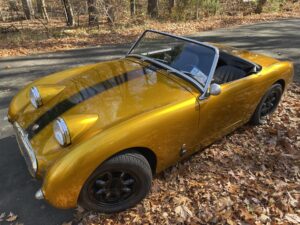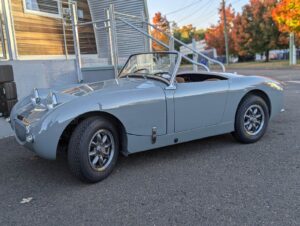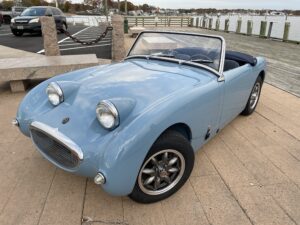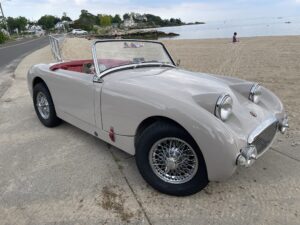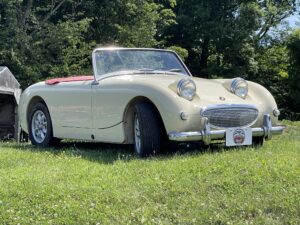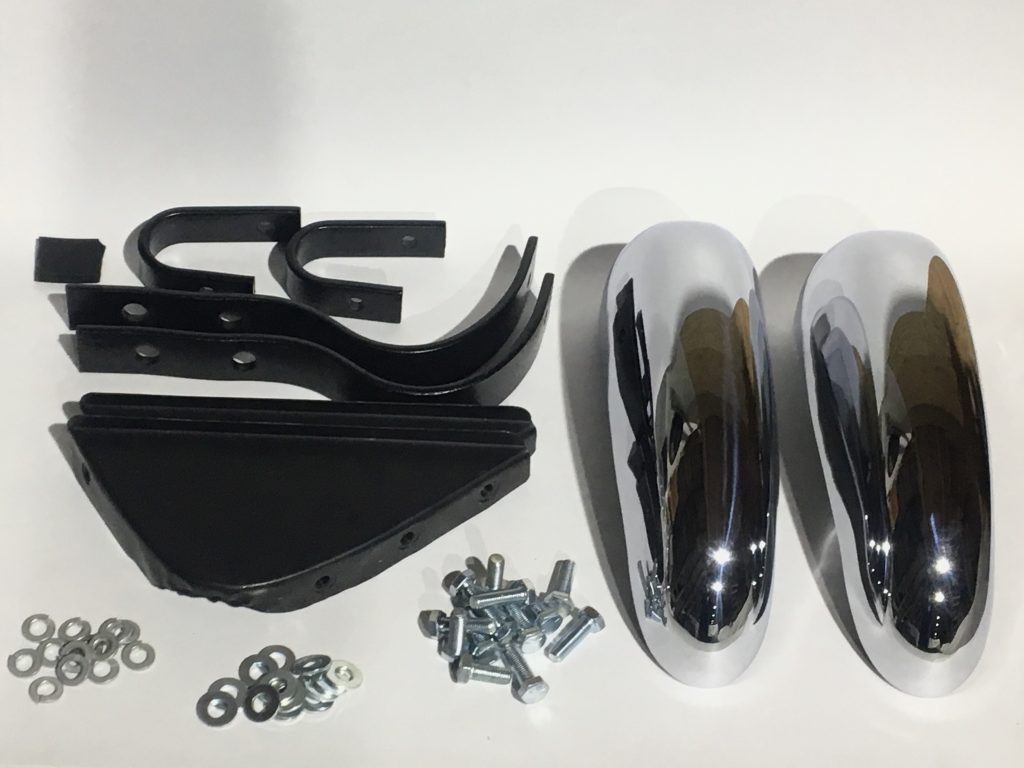
Next up on Gumby’s build are the correct rear bumper assemblies. Here we demonstrate the proper original assembly, with the upper brackets in an “A” not “U” configuration. Note also that the taper of the chrome bumper points down. We have seen quite a few cars with these details inverted.
We also recommend a piece of rubber between the upper bracket and body to protect your paint during assembly. This is not stock, but that piece comes in our kit so you don’t chip the paint in an area that will remain quite visible once the assembly is complete.
On gumby, I chose to install our LED kit to improve visibility on modern roadways. These brake lights, park lights and turn signals are many times brighter and I will take any improvements here to help make sure a distracted driver sees my nice car. These are very hard to detect when the car is parked, so this is an upgrade that is barely evident (at least when the lights are off) and applicable for anyone who wants a stock appearance on their car.
We have the kit listed below. A link for our LED light upgrade is also included.
Click here to get a complete rear bumper kit

